|
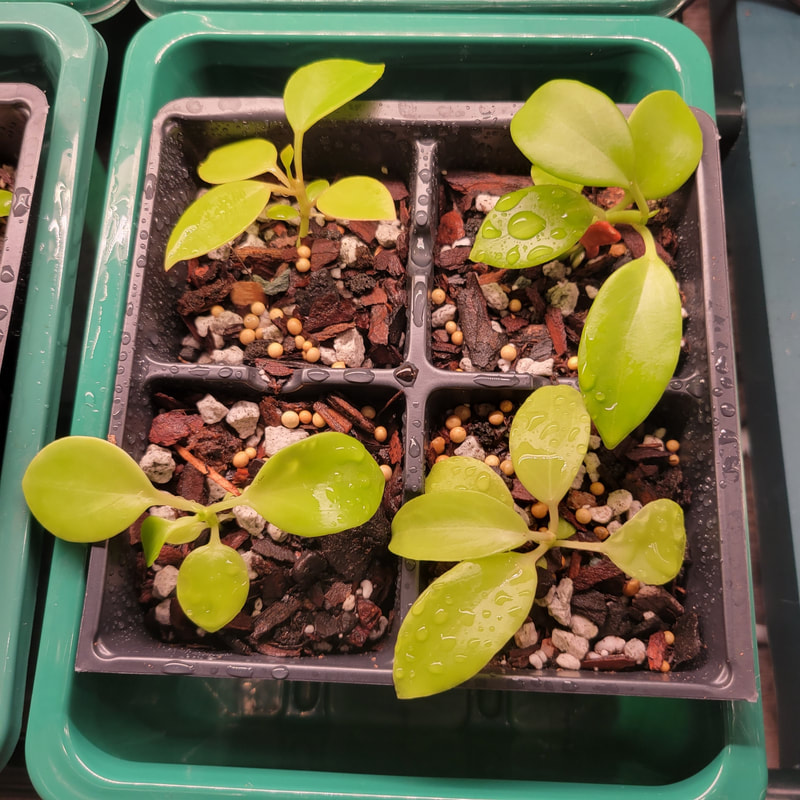
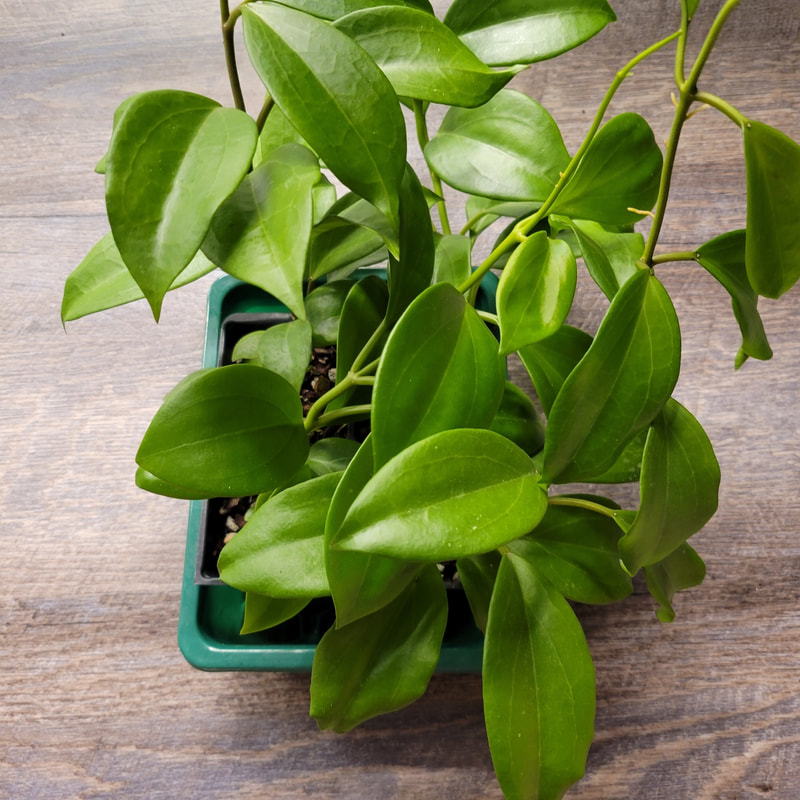
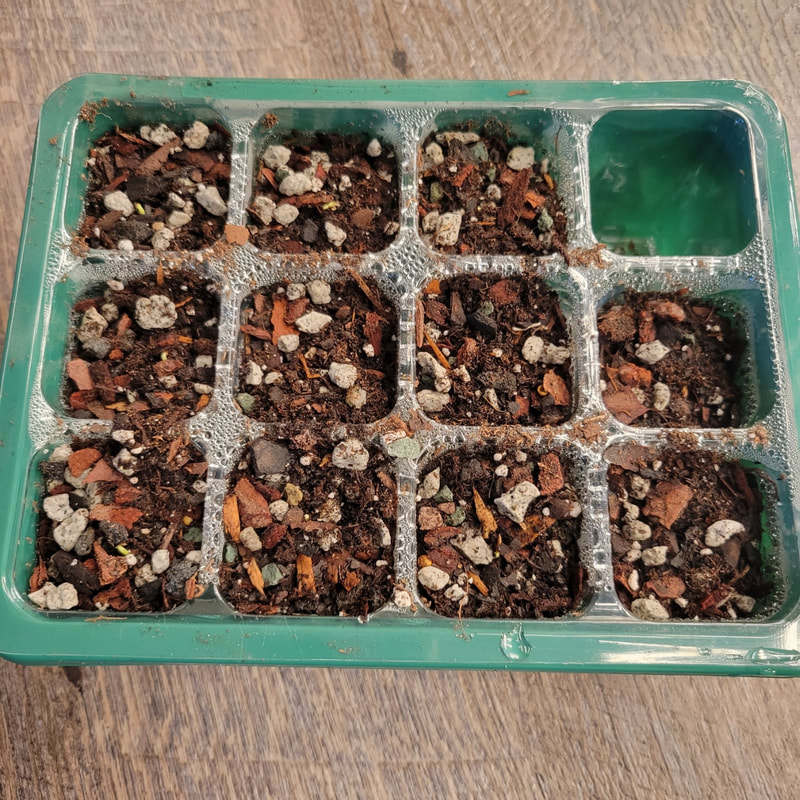
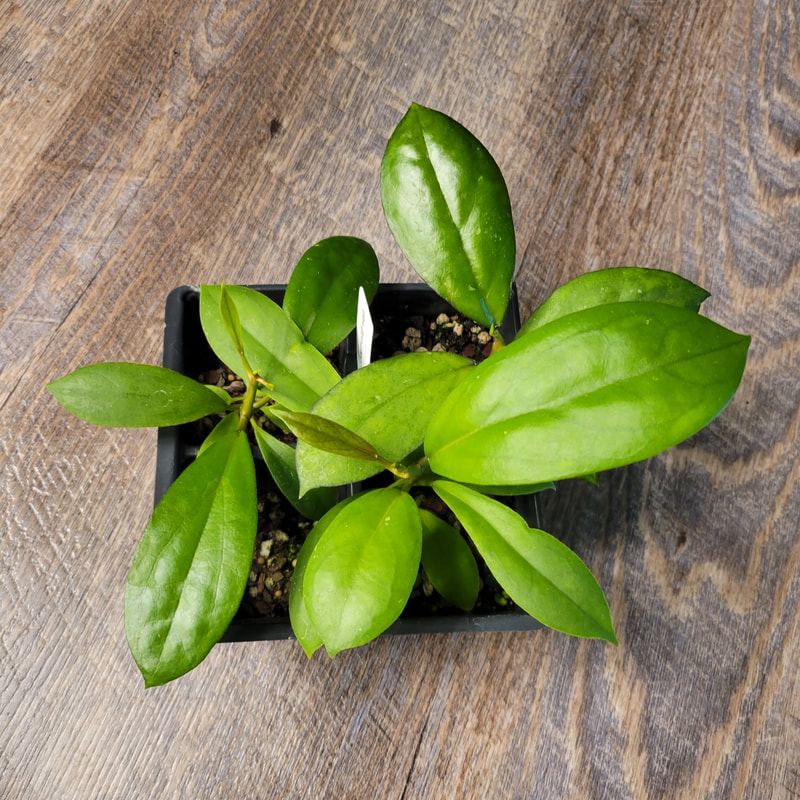
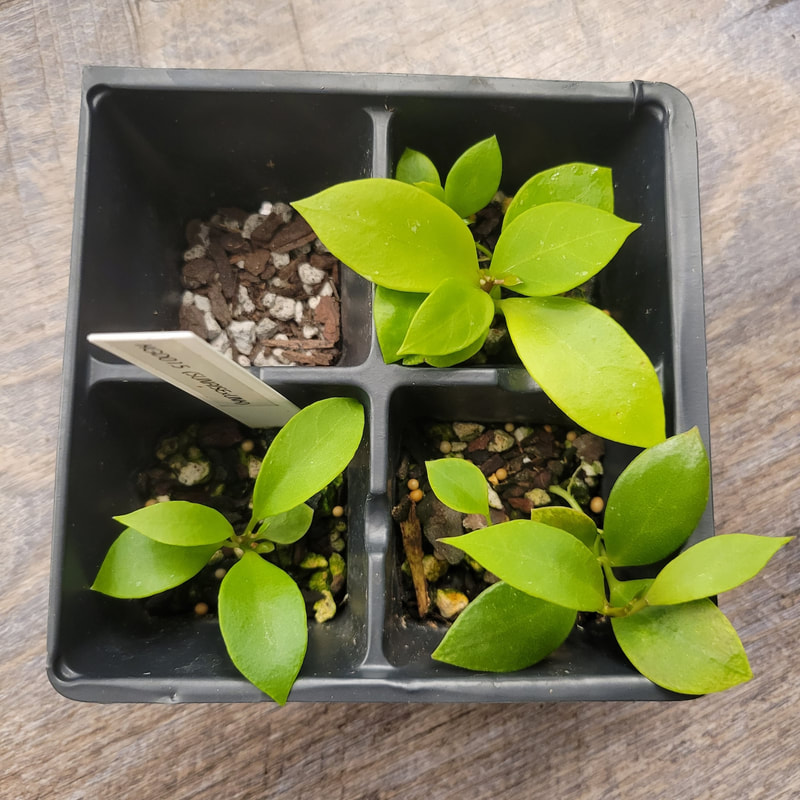
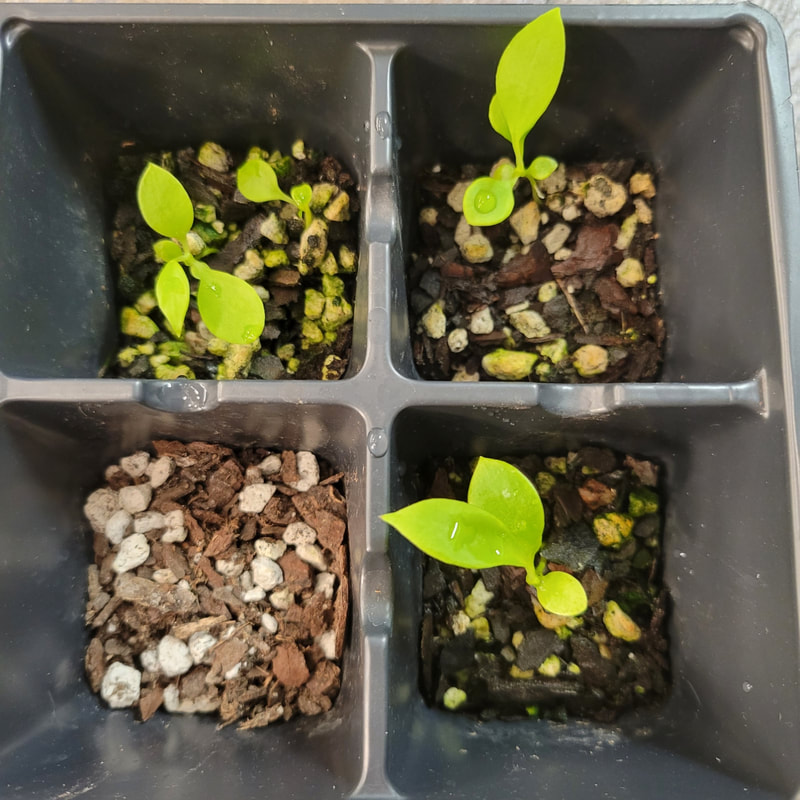
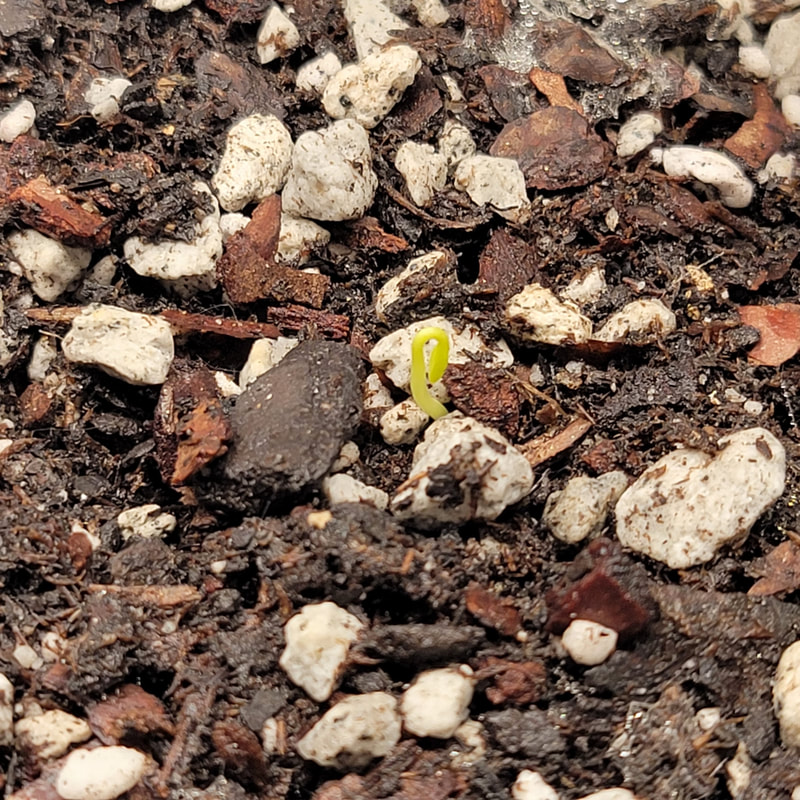
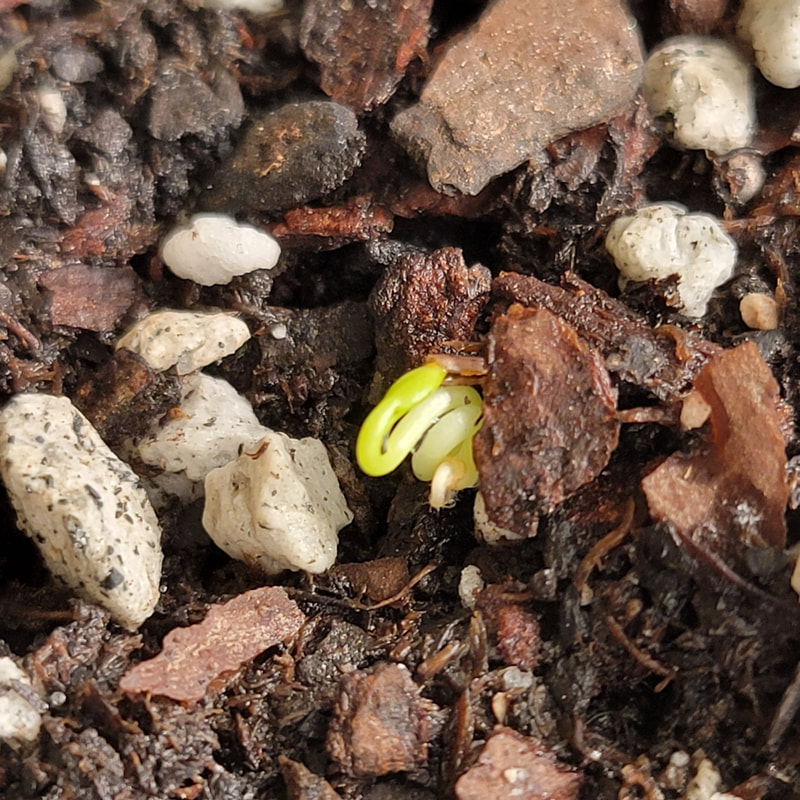
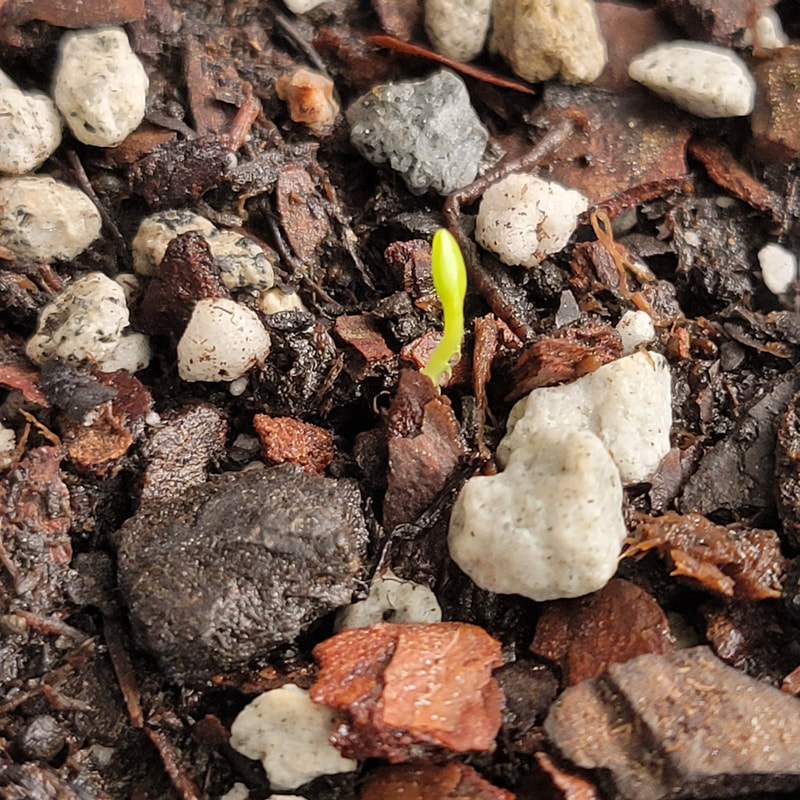
Two and a half weeks ago I noticed my Hoya DR. IBOK seedlings weren't looking very developed for being sown on 05/09/2022. Luckily, the cell trays I had the seedlings in were clear so I pulled them out of the cache tray and saw white fuzzy root mealybugs all over the root systems of the seedlings. I tossed all the soil and rinsed the roots and leaves really well in hot water. I picked off any remaining pieces of soil particles from the roots before spraying them down with my alcohol spray. Alcohol spray: 1/2 cup isopropyl alcohol 70% 4 cups water Since that initial discovery I have treated with neem oil, more alcohol spray, and systemics. The cell trays I planted them in the second time are not clear so I am unable to check on the roots. However, I have noticed that the seedlings have put on new growth and are definitely back on track. I even added in some Osmocote fertilizer. I will continue to monitor them for root mealybugs as they grow but hopefully, they are taken care of. I was not comfortable chopping the roots since they are seedlings and I didn't know if they could survive that at this point. Thus, the chances of root mealybugs coming back are definitely higher. The life cycle of root mealybugs does slow down as the weather gets colder so hopefully that will be to my benefit with it being August already. before
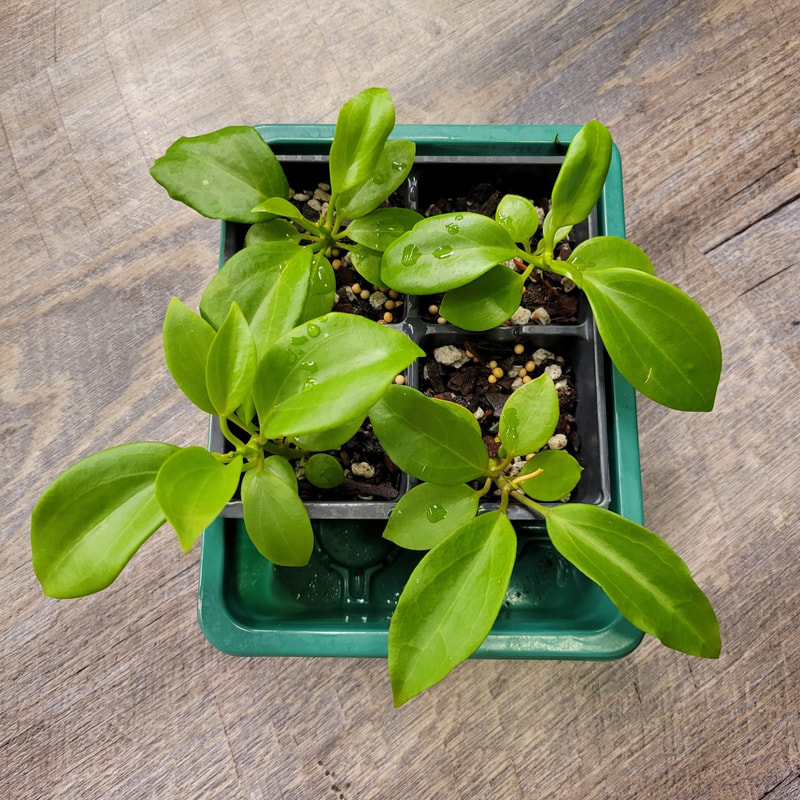
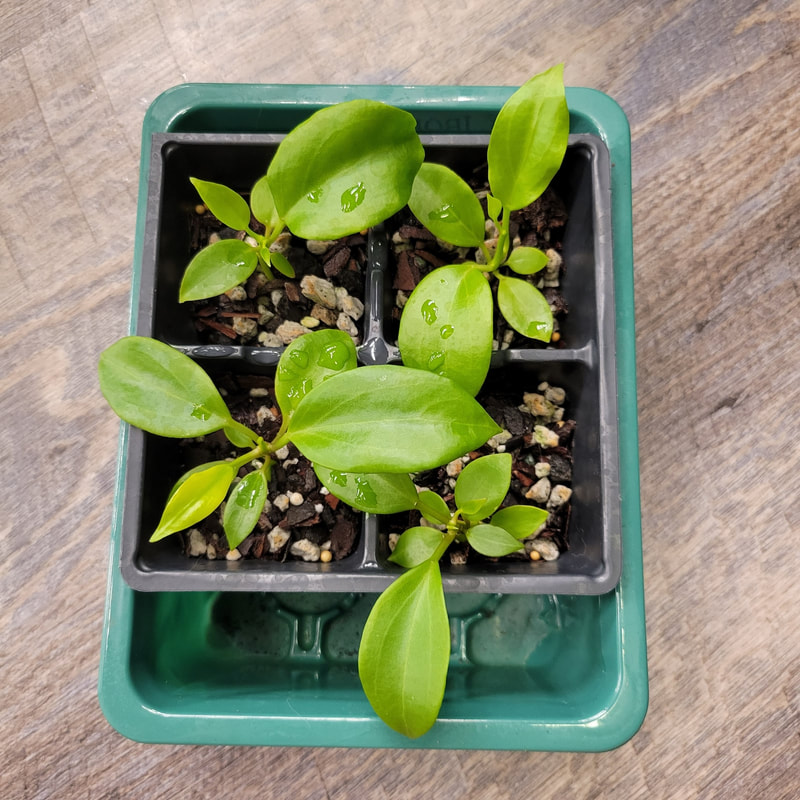
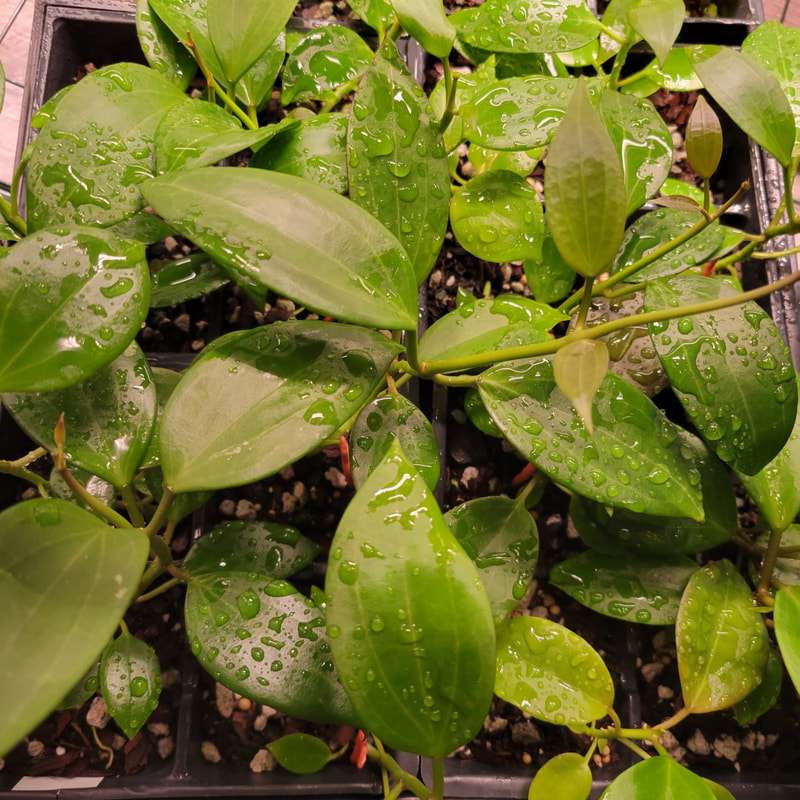
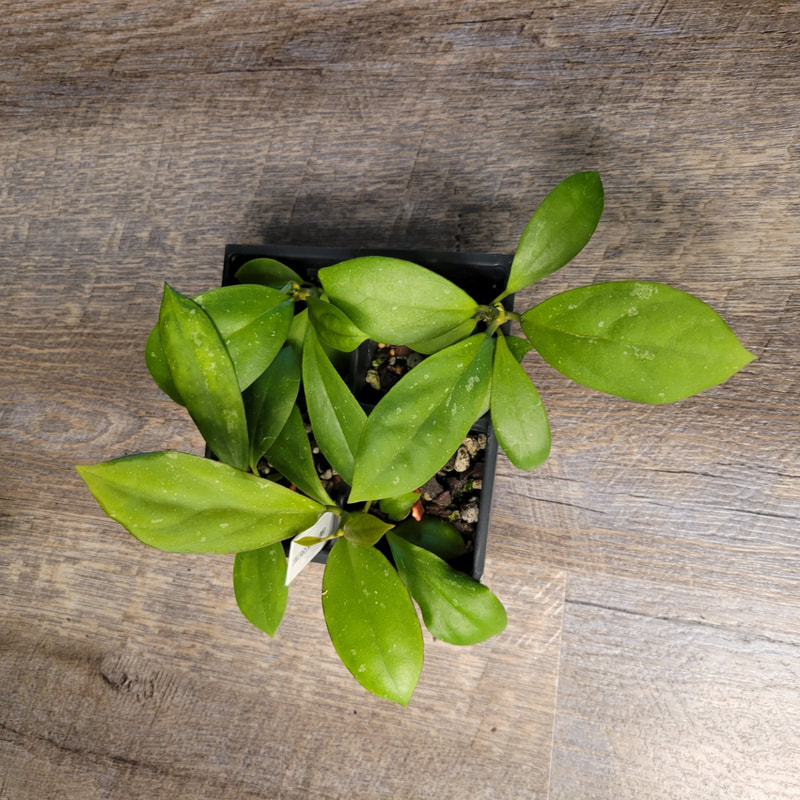
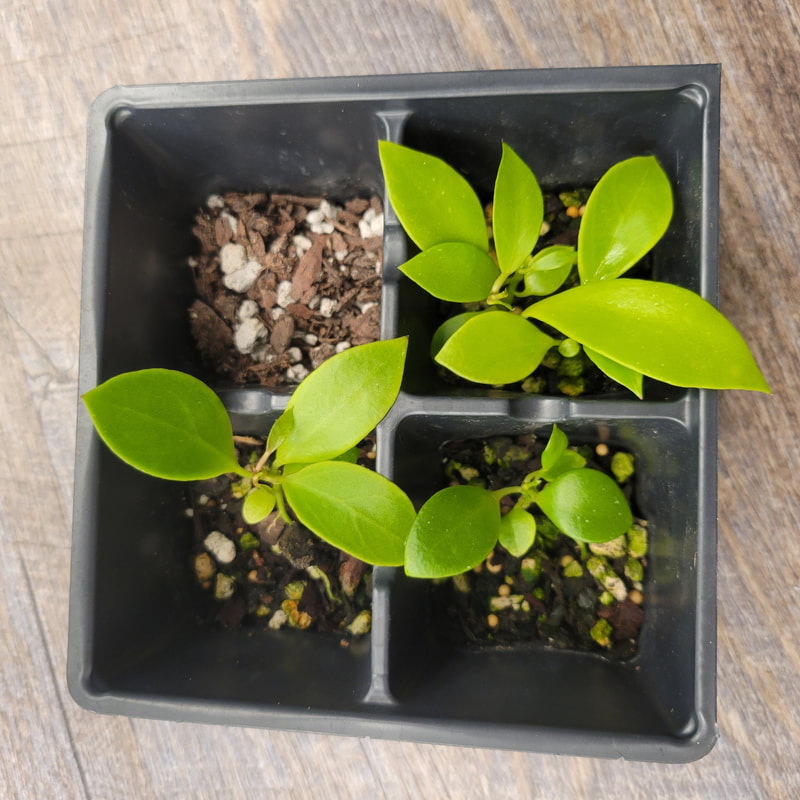
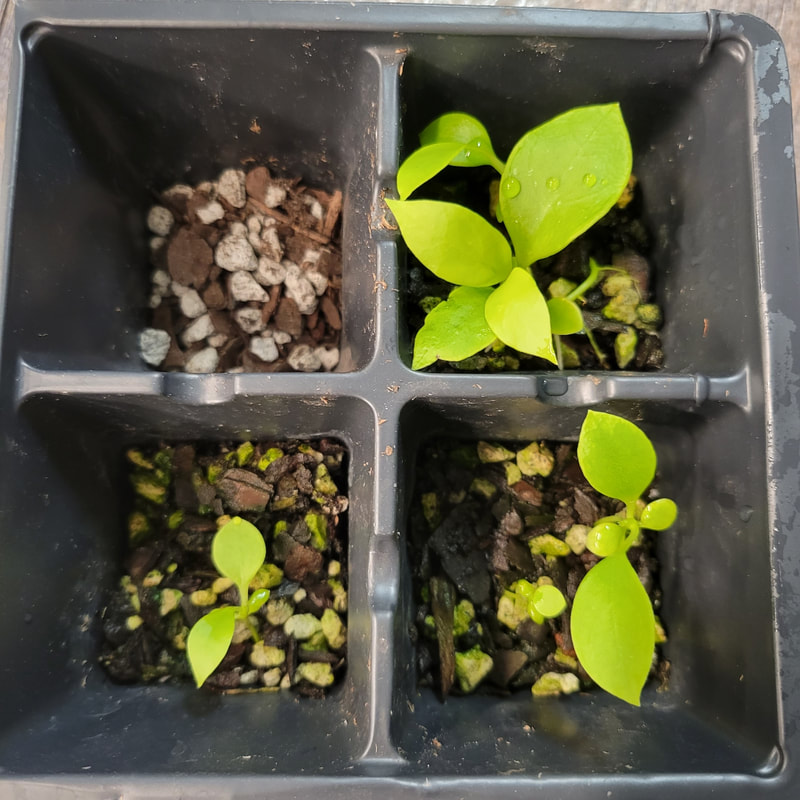
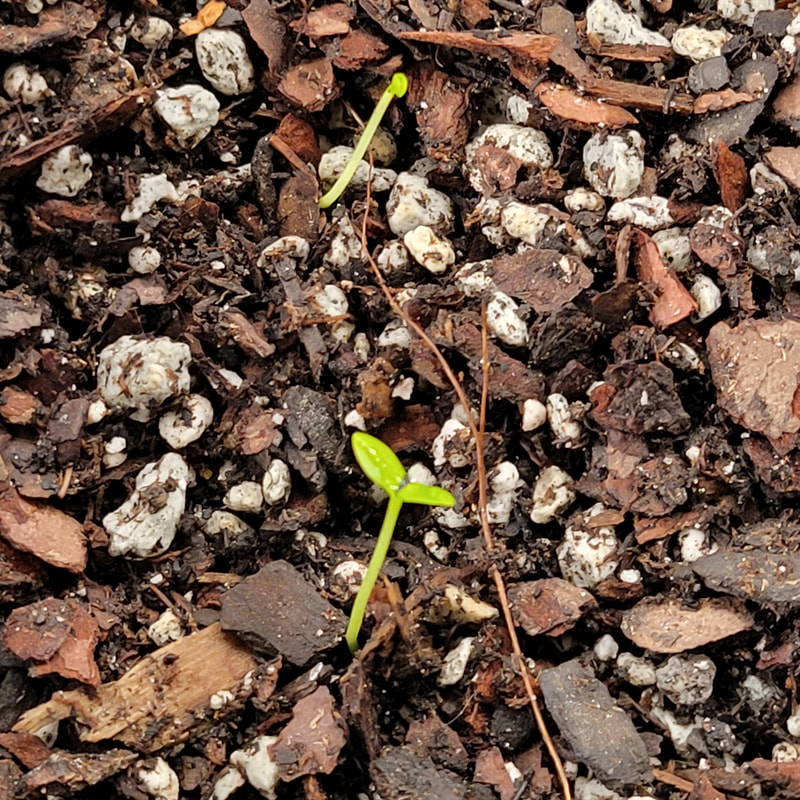
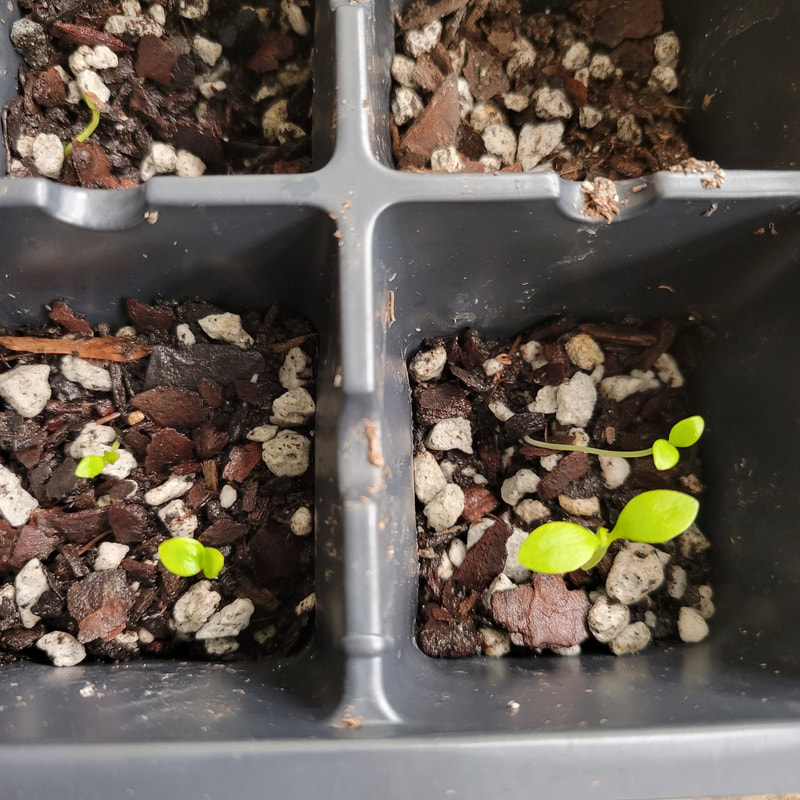
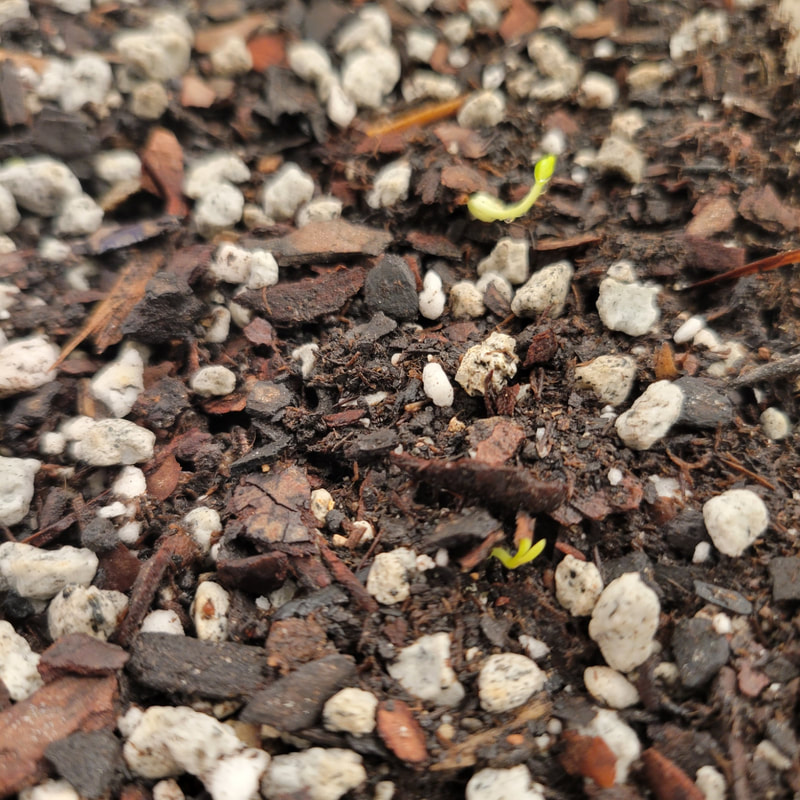
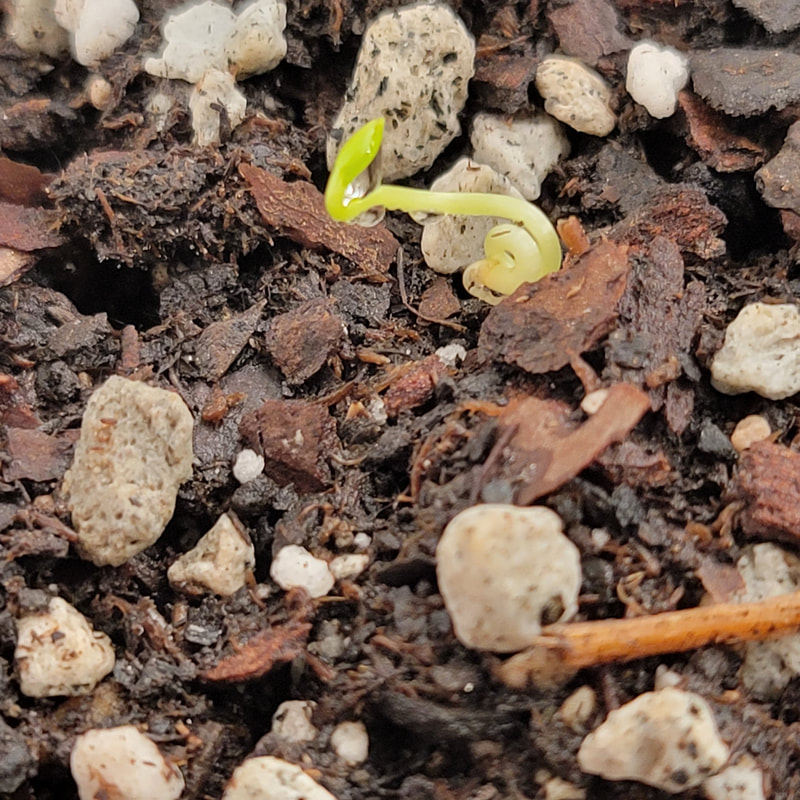
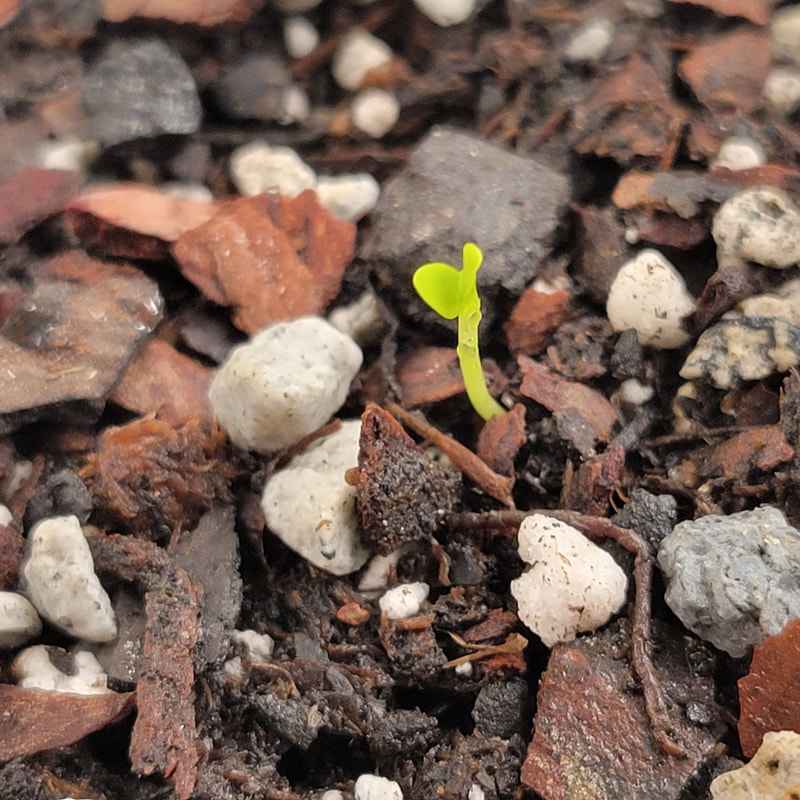
AFTER
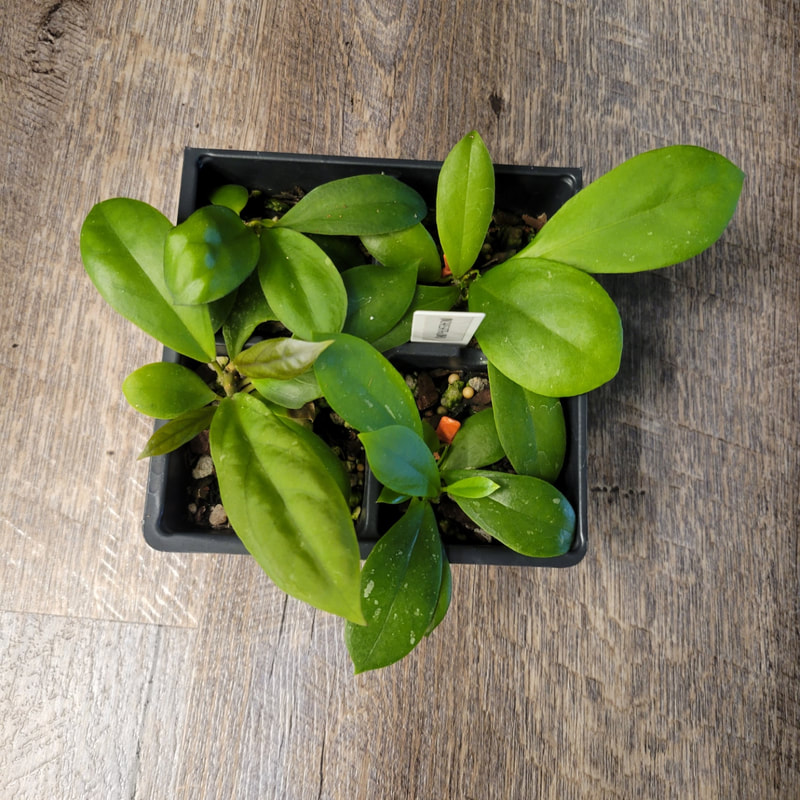
UPDATE 09/22/2022 I have not had to do any additional treatments on these seedlings since the initial infestation. I checked the roots on all of the seedlings and they are looking really good. They have continued to explode in growth. Something important to note is that root mealybugs can easily move from plant to plant through drainage holes so if you get an infestation make sure you aren't sharing the same water between plants and have some sort of tray around it to catch any water if your trays or pots have drainage holes.
0 Comments
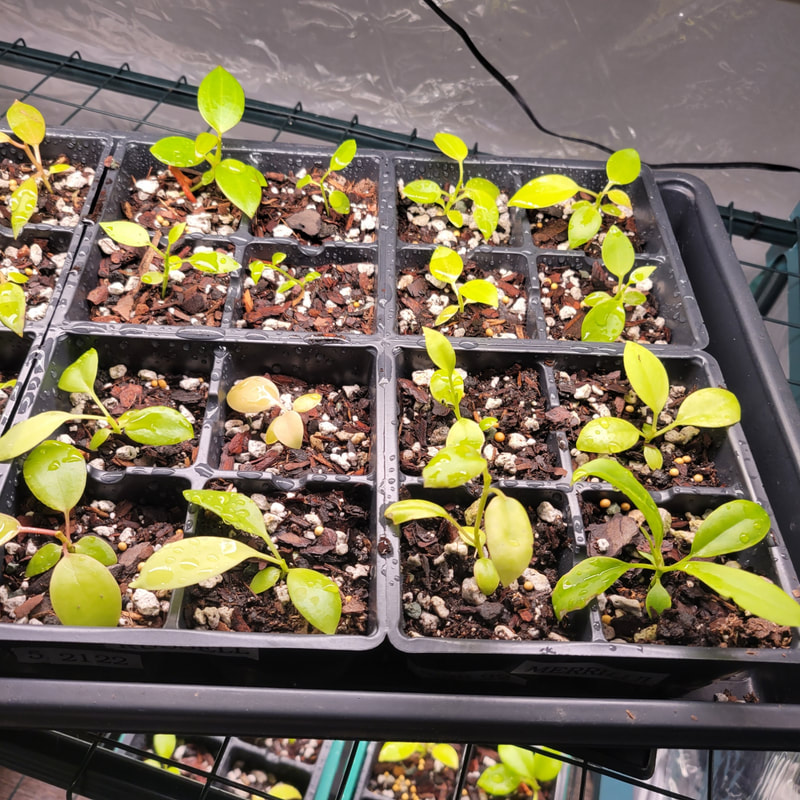
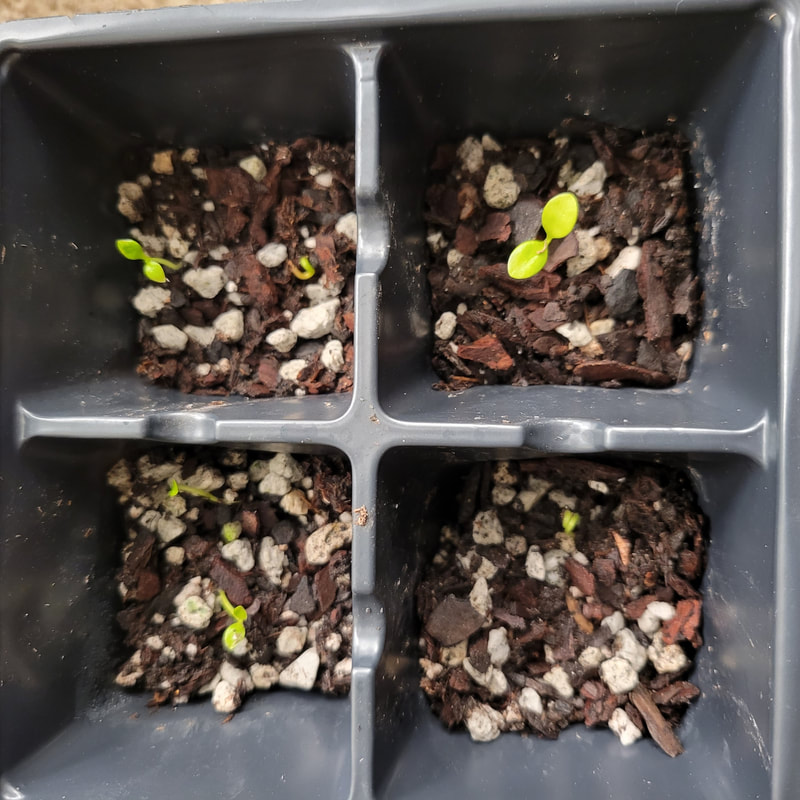
I went a little seed happy this year. I started growing seeds this year at the end of April and since have been growing latifolia, quinquenervia, Dr. IBOK, finlaysonii, incrassata, merrilli, fitchii, 'Penny's Treat', versteegii, and papaschonii. The only seeds that didn't take at all for me were obscura. There is something so rewarding about growing Hoya from a tiny seed to something lush and beautiful. Some of my earlier seeds are already getting decently large. One thing I think that some people don't realize when growing seedling is just how much water they need. From my experience the more mature they start to get the more water they require. I also experimented with starting my fertilization earlier than last time. Once I noticed a seedling starting to put out 4-6 larger leaves, I sprinkled in a couple Osmocote balls.
Additionally, last year I struggled with some of my seedlings getting elongated since they were not close enough to the lights. I adjusted my Barrina T8's and have them hanging 9 inches from the bottom of each shelf. Initially, I had the lights a little lower but I noticed some leave burn. I still had a few seedlings become elongated with the lights at 9 inches but that was easily remedied by repotting them deeper into the seedling tray cells.
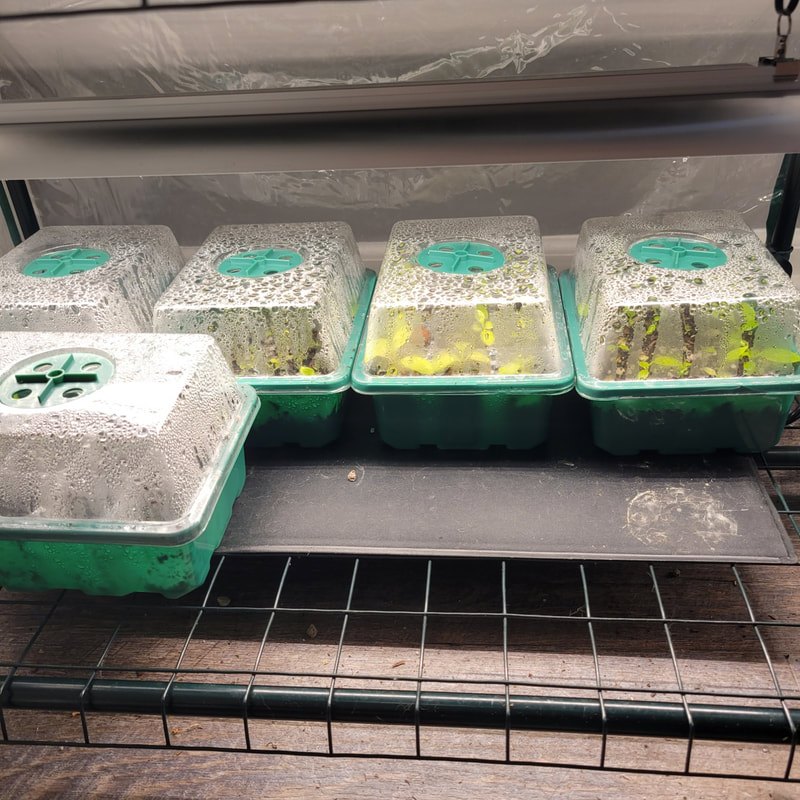
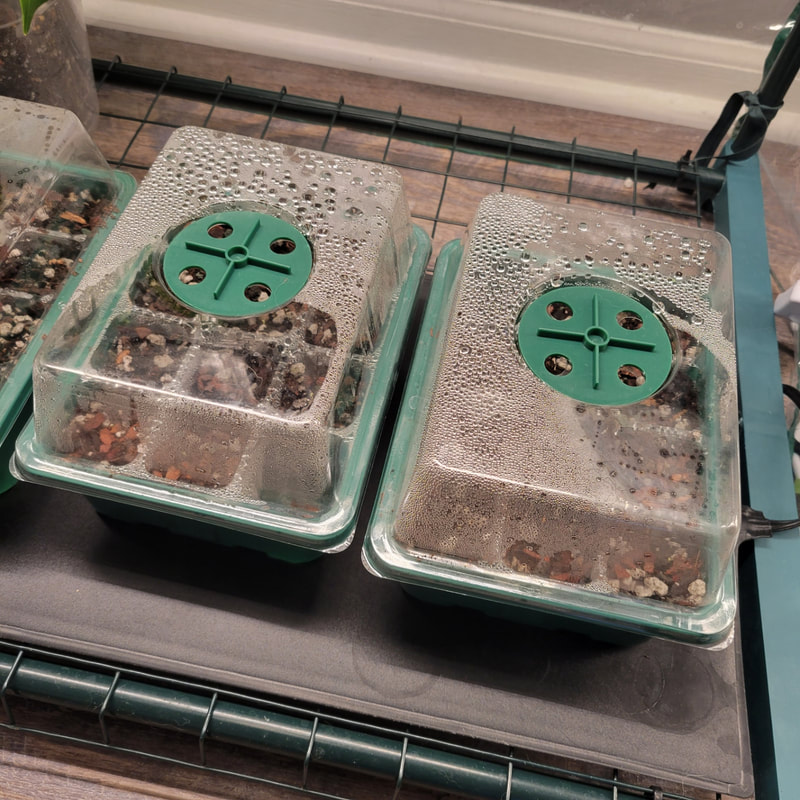
This year I have run into a problem with my DR. IBOK seedlings. The other day I noticed they seemed to not be as far along as I was expecting based on when I planted them. I checked the clear cell trays and noticed root mealybugs (ugh). Another plant had them that was hanging above my DR. IBOK tray and unfortunately mealybugs can travel through drainage holes and infest other plants. I immediately tossed all the soil and rinsed the roots and leaves really well in hot water. I picked off any remaining pieces of soil particles from the roots before spraying them down with my alcohol spray. Alcohol spray: 1/2 cup isopropyl alcohol 70% 4 cups water Unfortunately, because the seedlings aren't super mature, I didn't feel comfortable cutting off the roots and trying to reroot them. With root mealybugs your best bet to avoid them coming back involves chopping the roots. I am hoping that I did enough to help salvage them so they will continue to grow. I repotted them into fresh soil and have them quarantined in their own little cache box just in case the mealybugs do rear their ugly heads again. Click here to read more about root mealybugs.
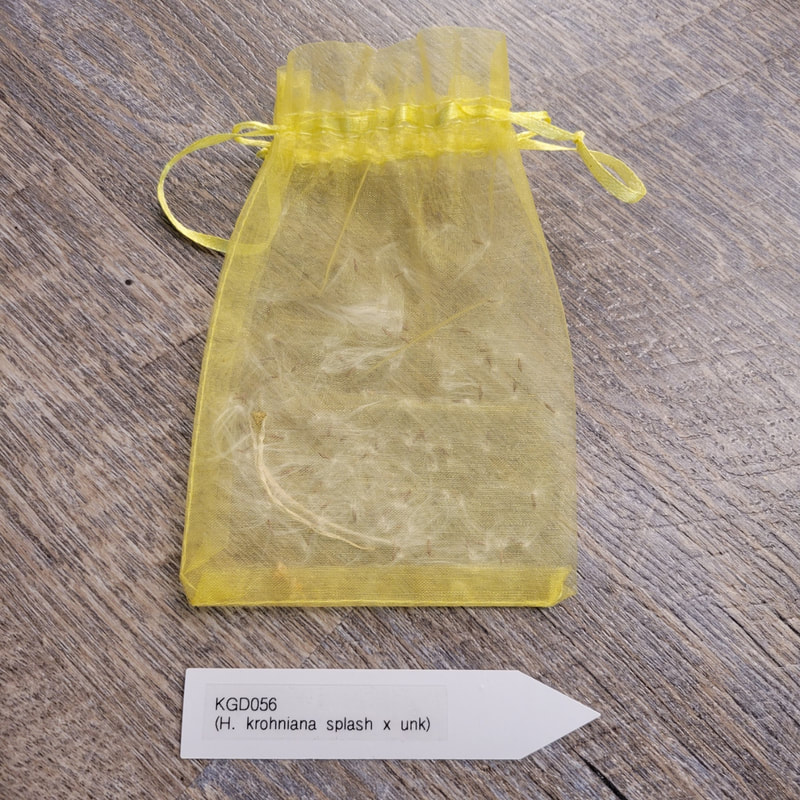
I have not been lucky enough to have any seed pods on my own Hoyas. I grow all my Hoyas indoors and there are no pollinators in my tents. The next best thing to growing my own seed pod is to procure one to experiment with. As usual, Kirsten Dyer from Small Batch Tropicals came through for me. I was able to get a H. krohniana splash x unknown seed pod from her. Sadly, the seed pod itself was mostly dried up when it came in the mail. I would love to see how a fresh pod looks in person.
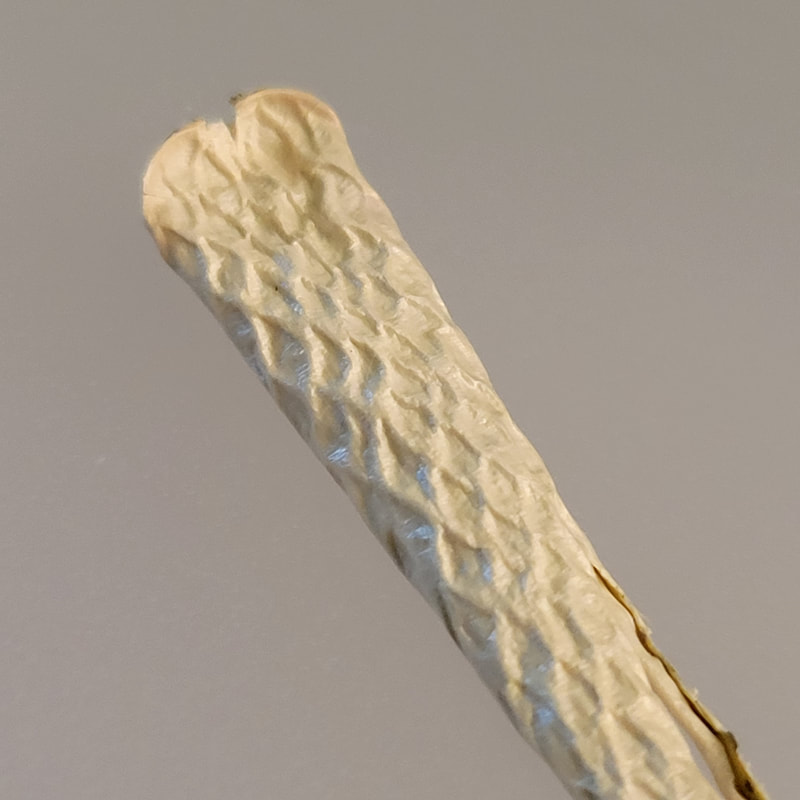
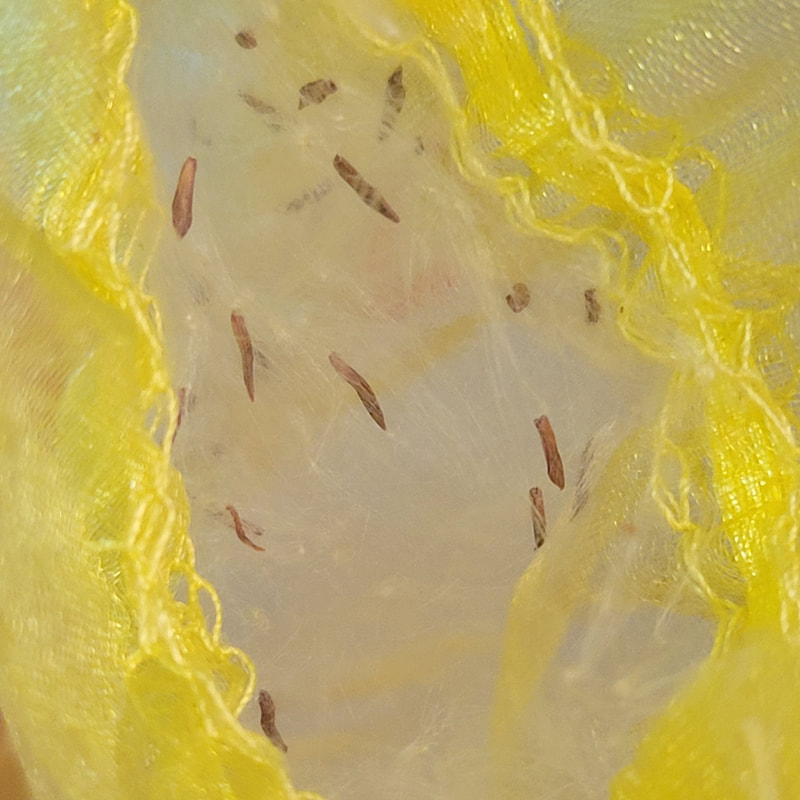
I wasn't 100% what all goes into getting a seed pod ready for market. I watched a few videos from people I consider prominent Hoya growers such as Doug from Vermont Hoyas or Ric Morier. It seemed like they didn't separate their seeds at all but just planted them straight away fluff and all. The fluff or seed head (if I have my terminology correct) is like a spider web you cannot get off your fingers that traps the seeds.
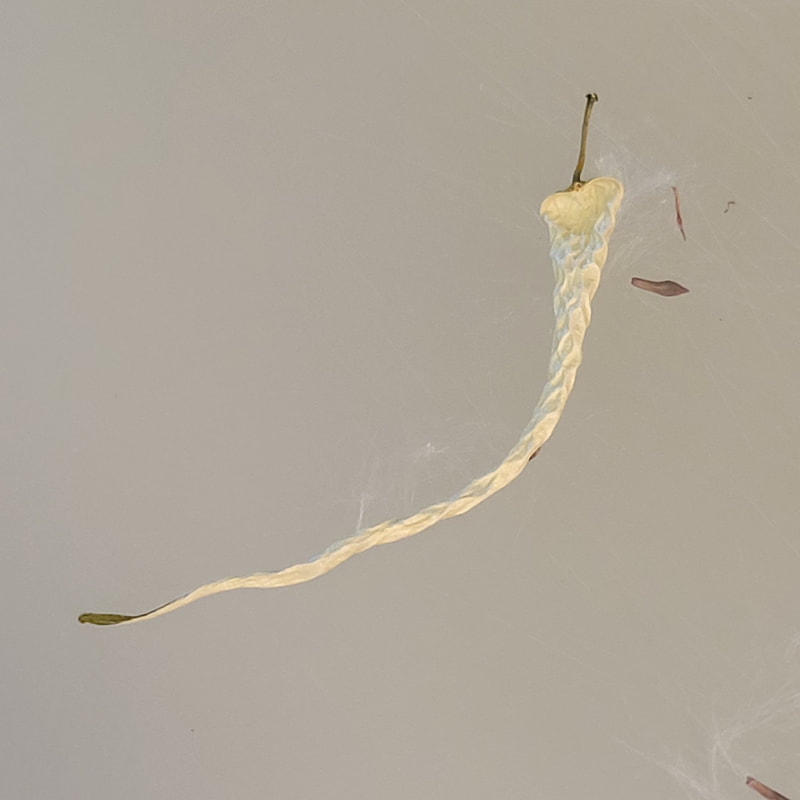
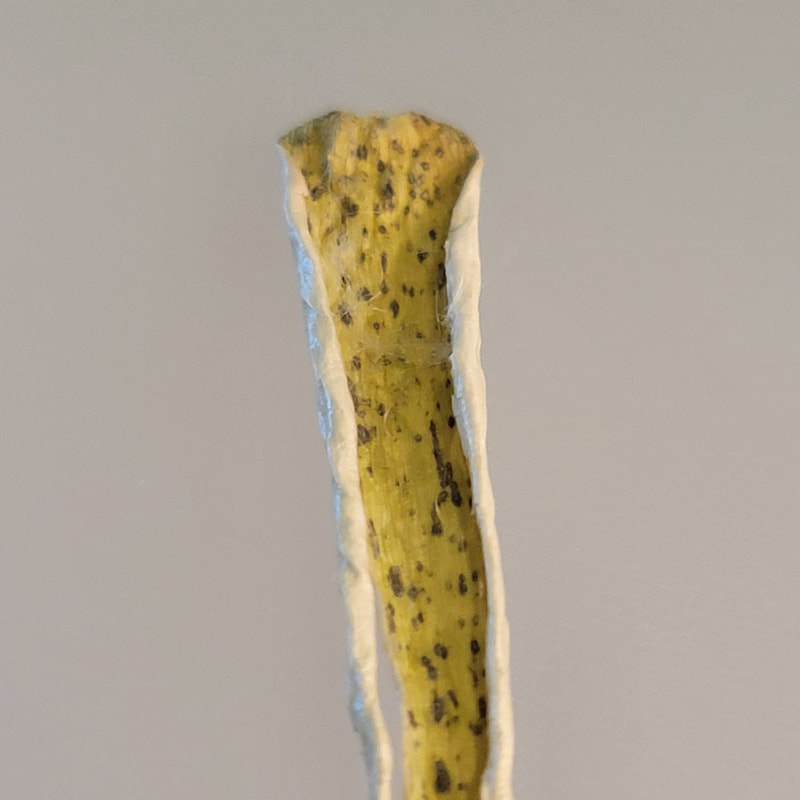
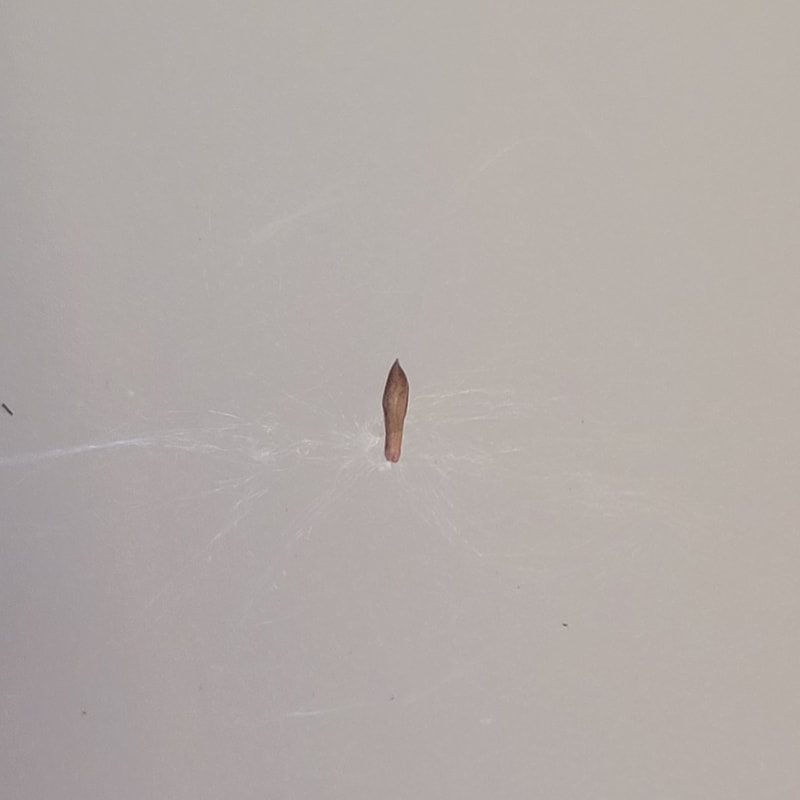
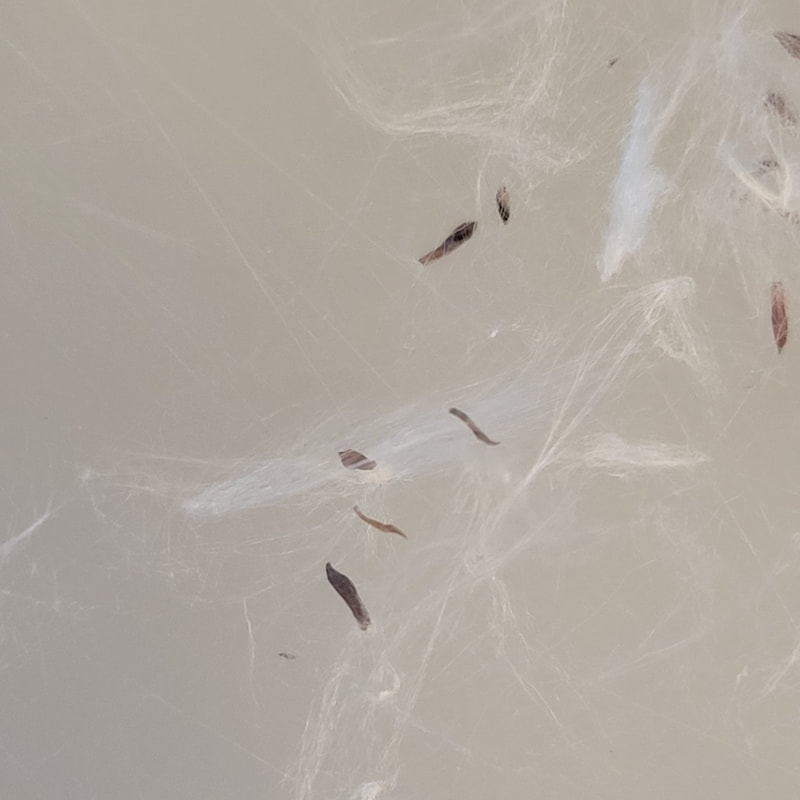
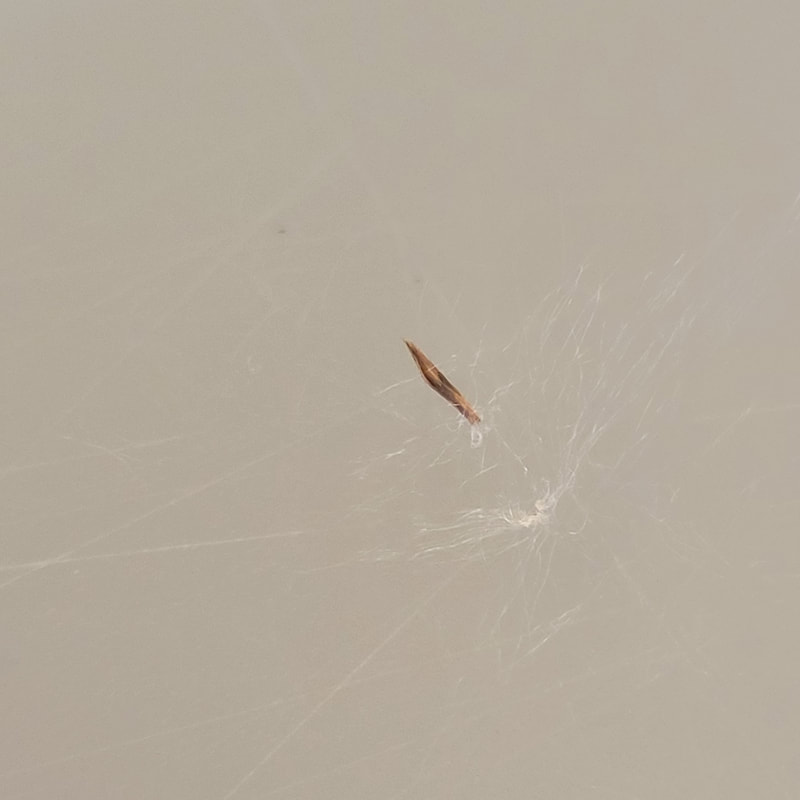
From the seeds I observed in the mesh bag, some of them were very plump and arrow shaped while others looked dried out or very thin/straight. My assumption is that the thin dried out seeds are most likely duds. However, I have heard that sometimes seeds like these are still viable so I planted all my suspected dud seeds to see if I get any seedlings.
In short, it isn't necessary to remove the fluff but more of a personal preference. I've planted seeds both with fluff and without and it doesn't seem to make a difference. I think sorting seeds is definitely a good idea especially if you plan on selling them. Seeds for personal use don't really need sorted unless again it comes down to your personal preference.
07/21/2022 - Dud Update The suspected dud seeds did not sprout. I'm sure this isn't the case for all Hoya seeds but for this pod my prediction was accurate. Last year I tried sowing Hoya seeds for the first time. It was definitely a learning experience but a very positive one. This year I wanted to up my game and invest in some seedling trays.
I started off by filling the cells almost to the top with soil. I would recommend not filling it quite as high so the seedling has more room to grow taller. The soil mix I used can be found by clicking here. Then I used a wash bottle to wet the soil. The soil should not be drenched. Next, I carefully placed a seed in each cell. After that, I put a very thin layer of soil on top and dampened it with a sprinkle of water. These trays come with a ventilated dome which I placed on top. Lastly, I placed the tray on a heat mat under a grow light. I will periodically (every few days) check the soil to make sure it stays moist. If you do grow Hoya from seed, make sure to sow them ASAP while they are still viable. Do not buy fake seeds from any big corporations. The best place to find Hoya seeds is on the different Facebook Hoya groups. My personal favorite is Small Batch Tropicals.
Click here to check out the video I made sowing H. latifolia seeds.
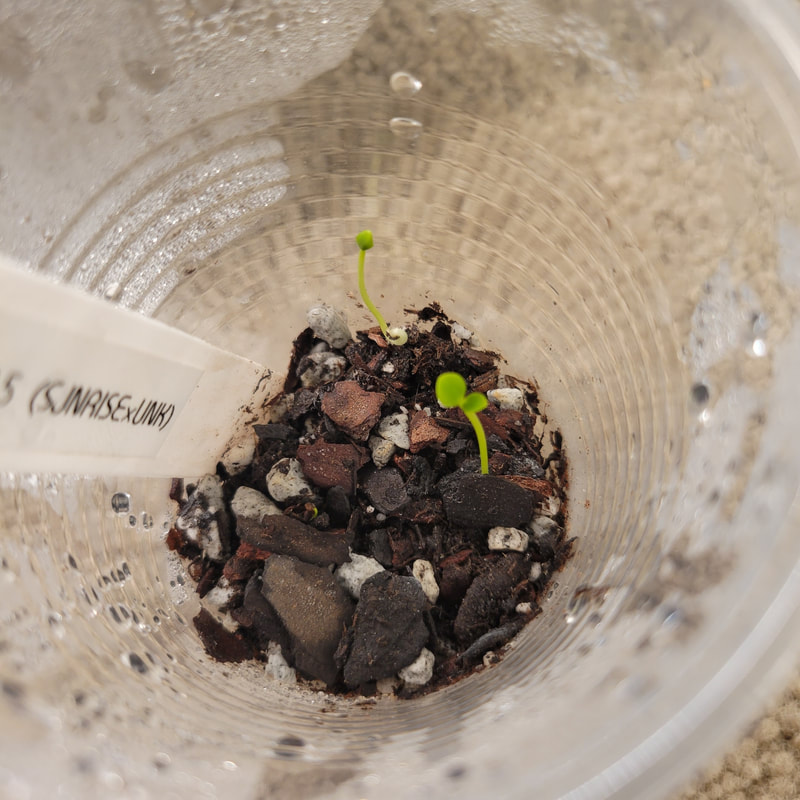
H. Sunrise x UNK
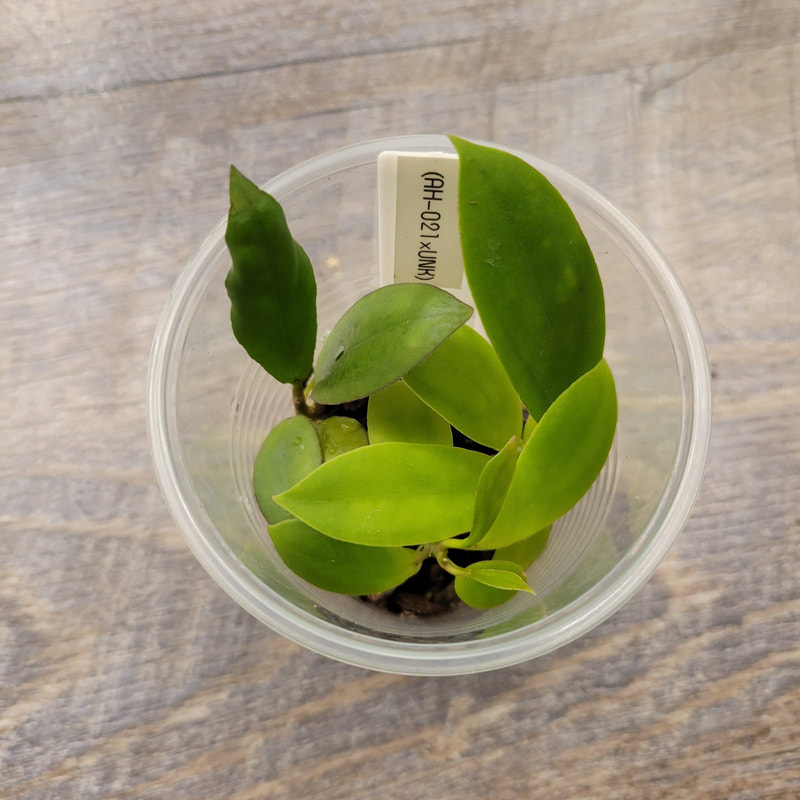
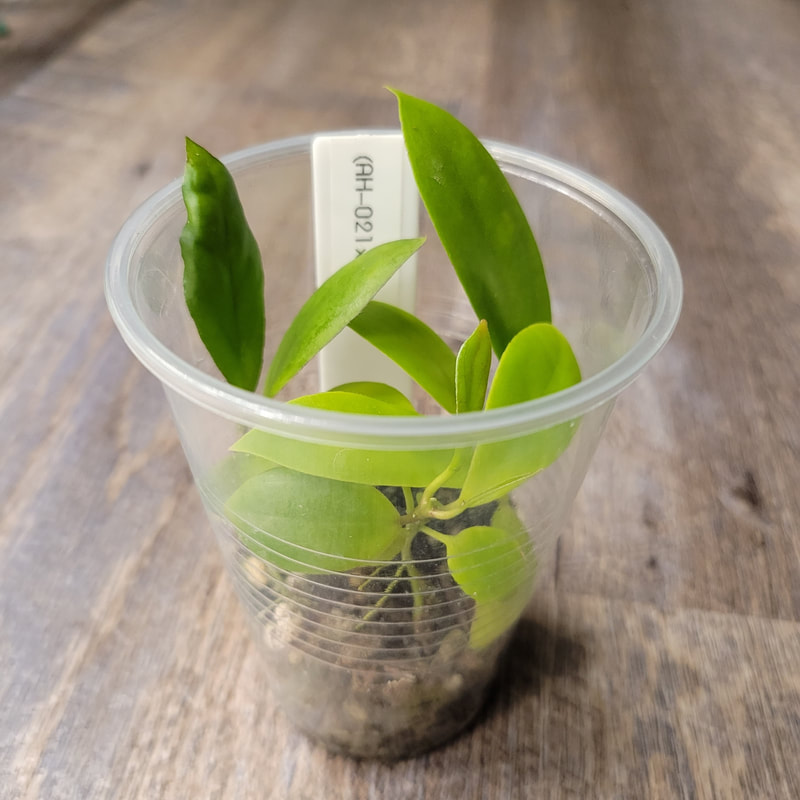
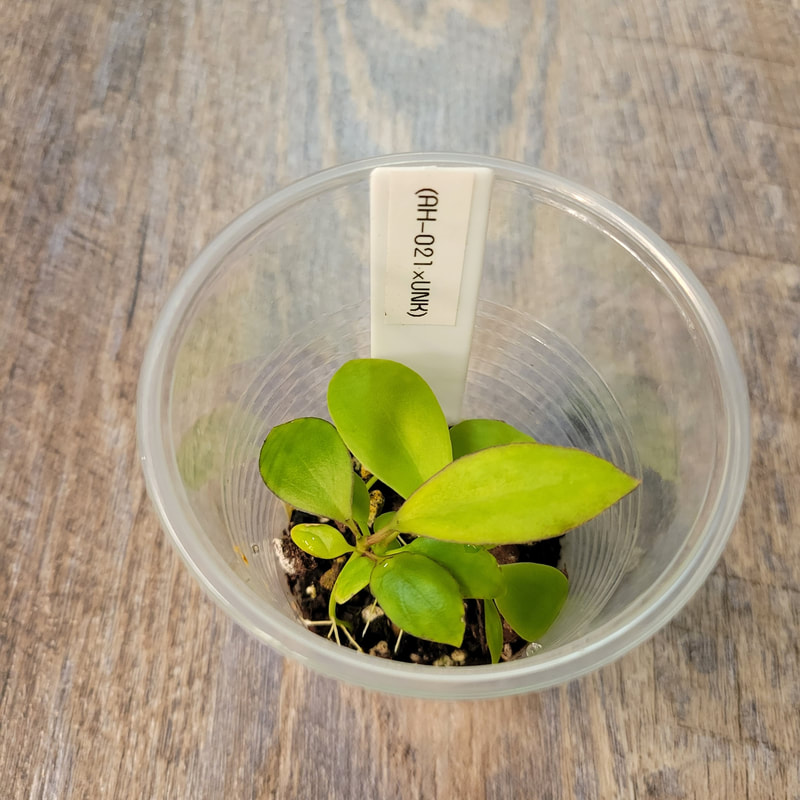
H. AH-021 x UNK
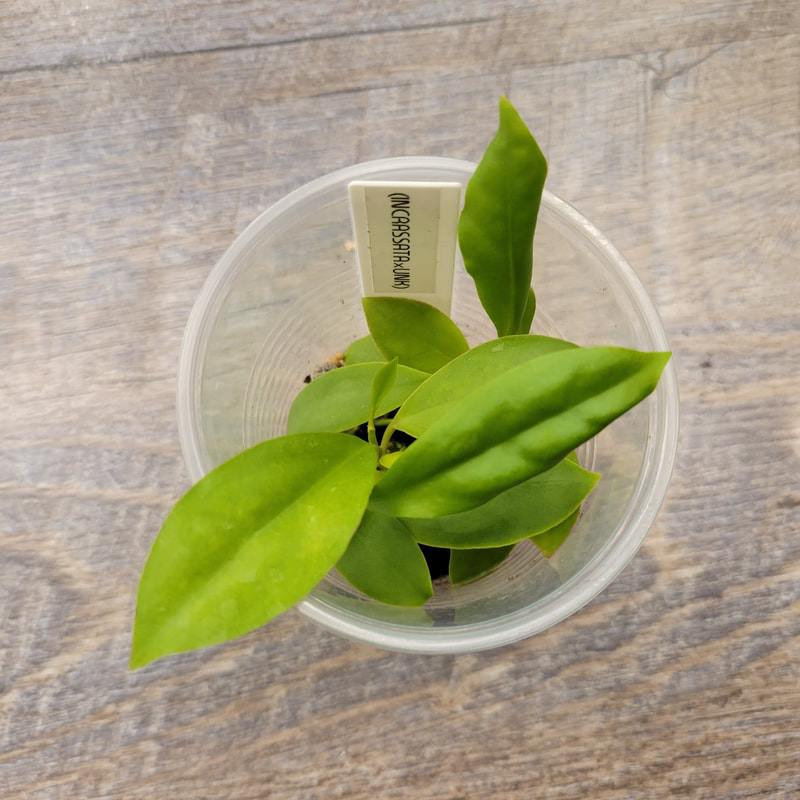
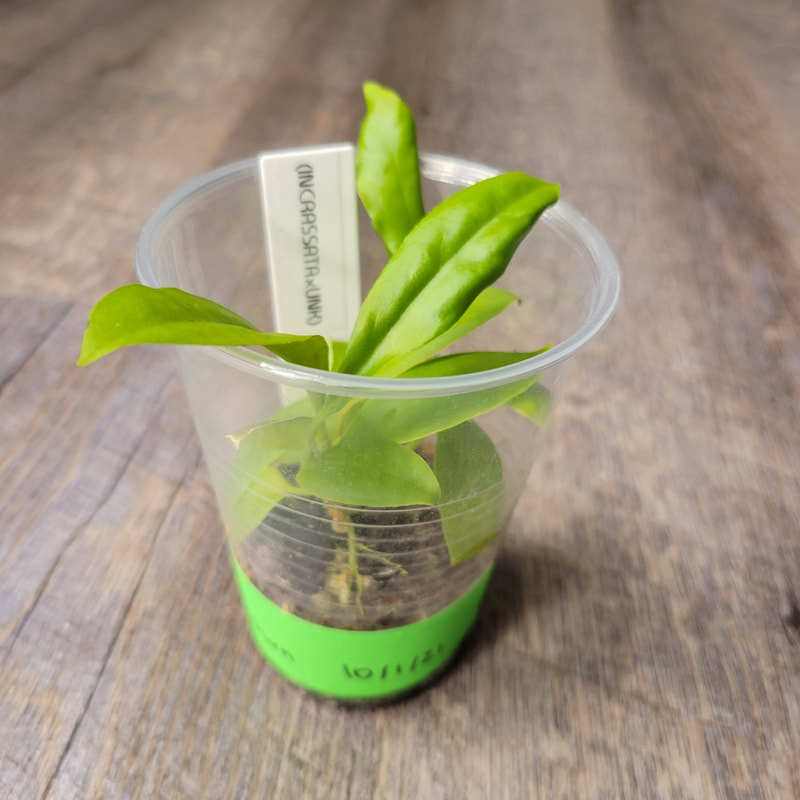
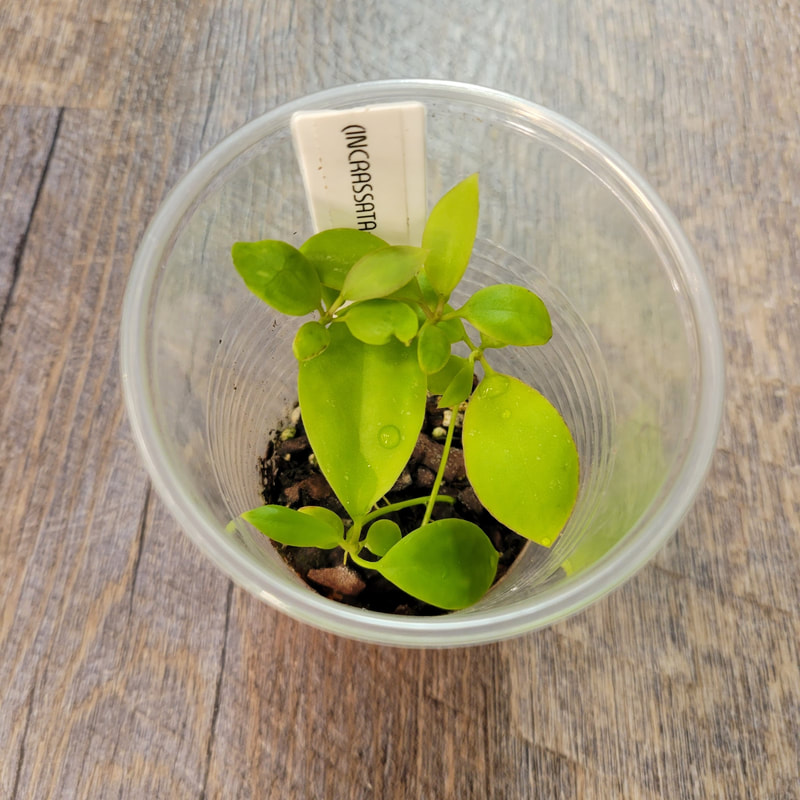
H. incrassata x UNK
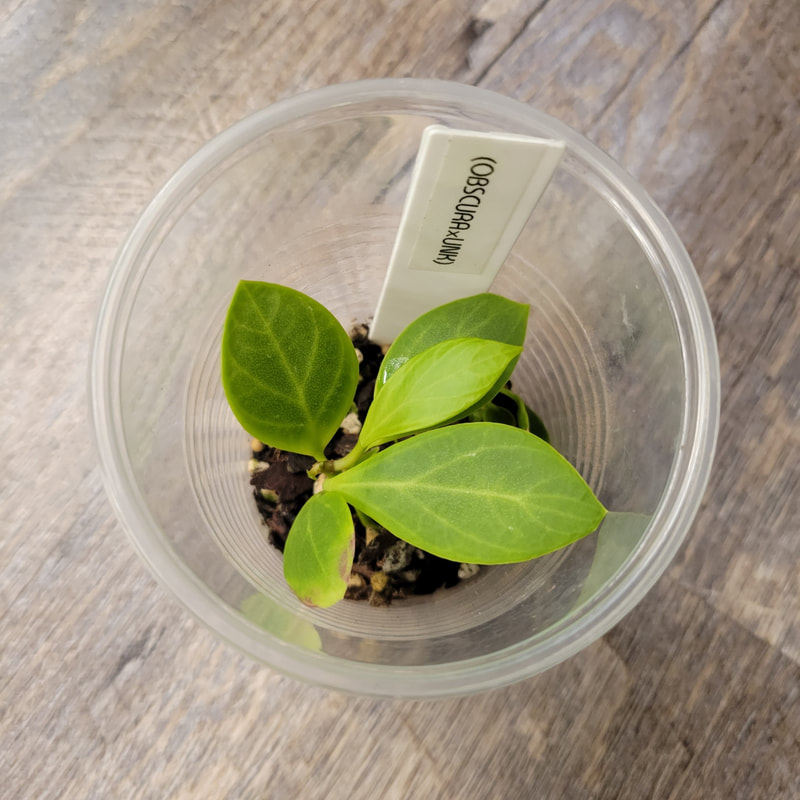
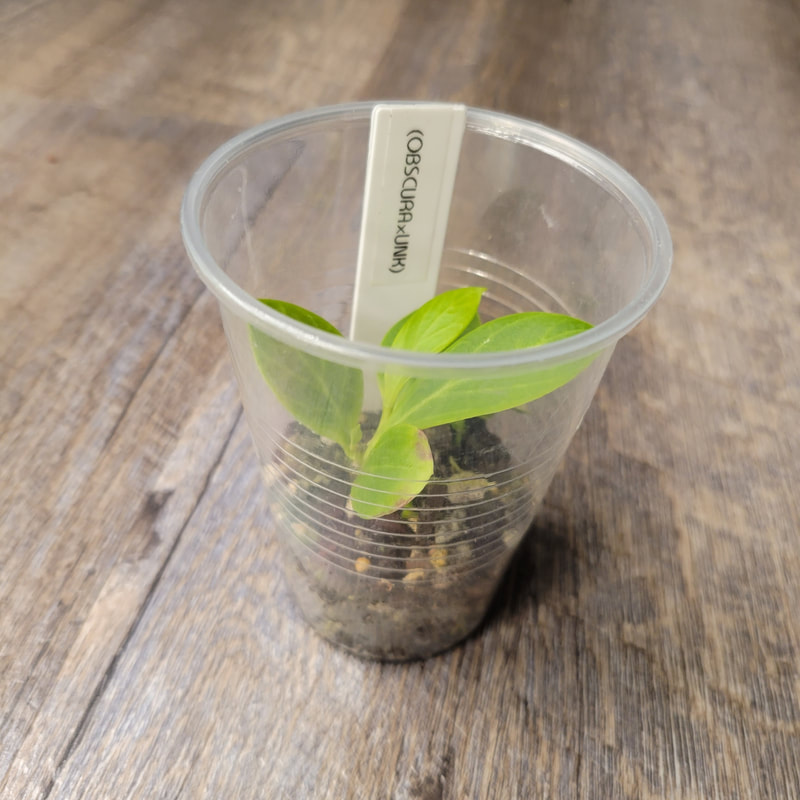
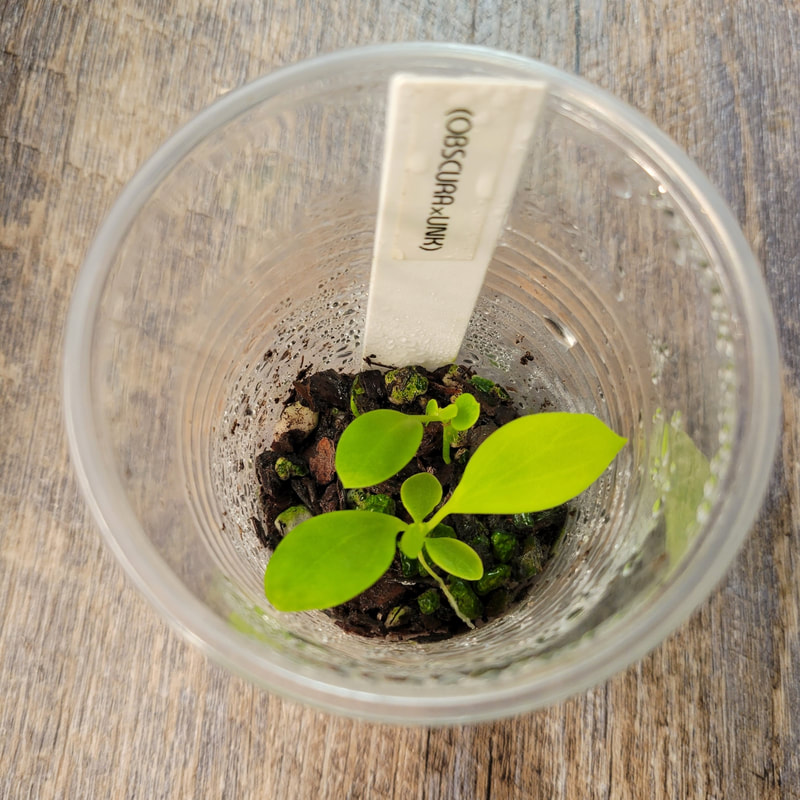
H. obscura x UNK
Since embarking on growing Hoyas from seed a few months ago I wanted to share some thoughts I had on my experience. One thing I would definitely have changed from my initial seed set up, would be using a container that can hold the plant from seed to seedling. For future seedling endeavors, I plan on using a seedling starter with humidity dome. When I first started my seedlings I was really worried about using too much light and potentially burning my seeds/seedlings. The problem that came from me using too little light initially was a bunch of my seedlings were getting etiolated. I've learned that there is a fine line between too much and too little light. My seedlings now reside 6-8 inches away from my LED Barrina T8's. February 2022 Update The beginning of January I started fertilizing the seedlings. I heard from other seed growers if you start too early it will burn the seedlings. January was about 3 months into growing the seeds and I have not had any issues. For fertilizer I use Osmocote (NPK 14-14-14).
Sown 9/30/21
Sown 10/1/21
Sown 10/1/21
Sown 9/25/21 (Sunrise x UNK) Sown 9/21/21 (Sunrise x UNK) Click here to see my February seed update. It has been a hot minute since I posted any seedling content. I figured I would do a picture update! Also, a bunch of my seedlings were getting elongated because they weren't close enough to the grow lights. I have since remedied the situation and have them 6-8 inches away from my Barrina T8s thanks to advice from Sobeida DeGorter (my_littleurbanjungle).
Sown 9/30/21
Sown 10/1/21
Sown 10/1/21
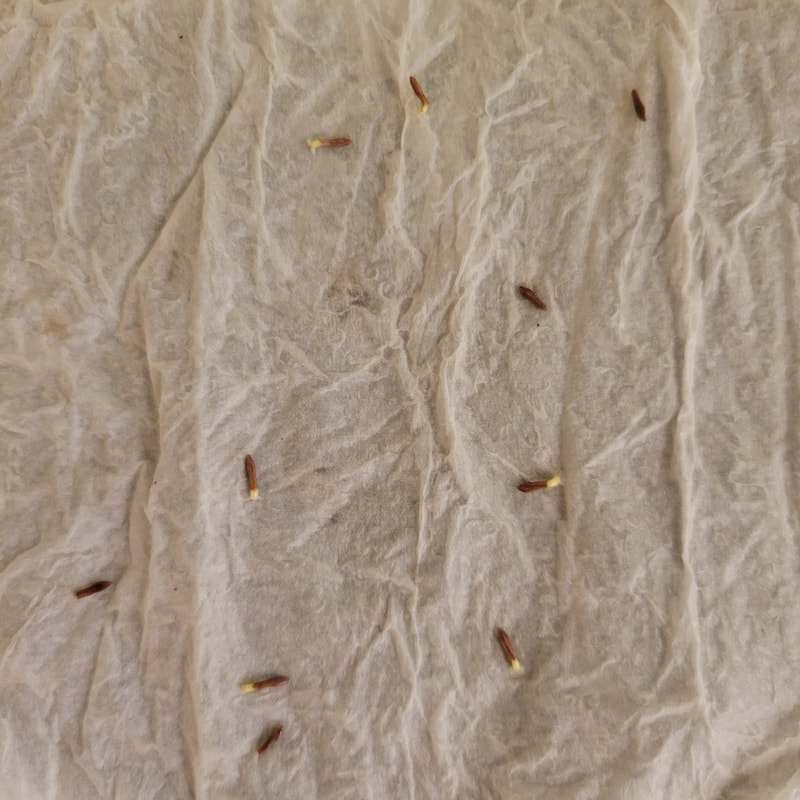
Click here to to see my December seed update Click here to see my February seed update Click here to read about lessons I've heard from growing Hoya seeds I was reading on one of the Hoya Facebook groups and saw someone talking about sprouting seeds in a paper towel before planting them and how they had better results. I wanted to try this for myself. Method: Take a damp paper towel put your seeds nicely in the middle and fold it to fit in a sandwich bag. The second day of sprouting, I did put the bag on a heat mat for a little bit. I honestly don't know if it really did anything to help them sprout or not. Also, if you leave them on the paper towel too long it will be harder to peel them off. Mine seemed to come off the paper towel easily. After I took them off the paper towel, I sowed them just like I did the previous seeds in my first post. I put the seeds in the bag on 9/25/21 and took them out to sow 9/27/21.
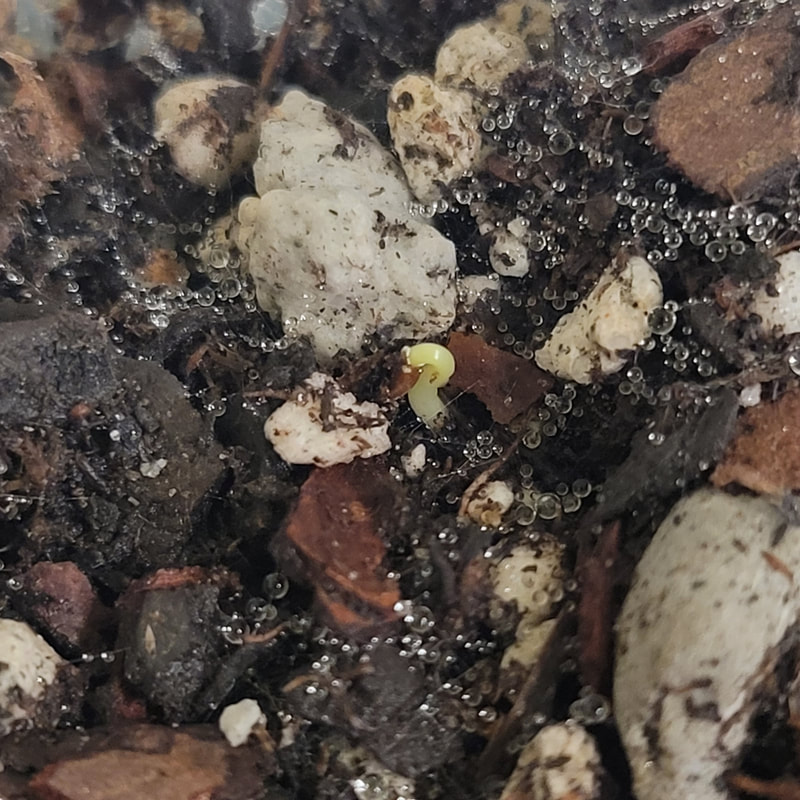
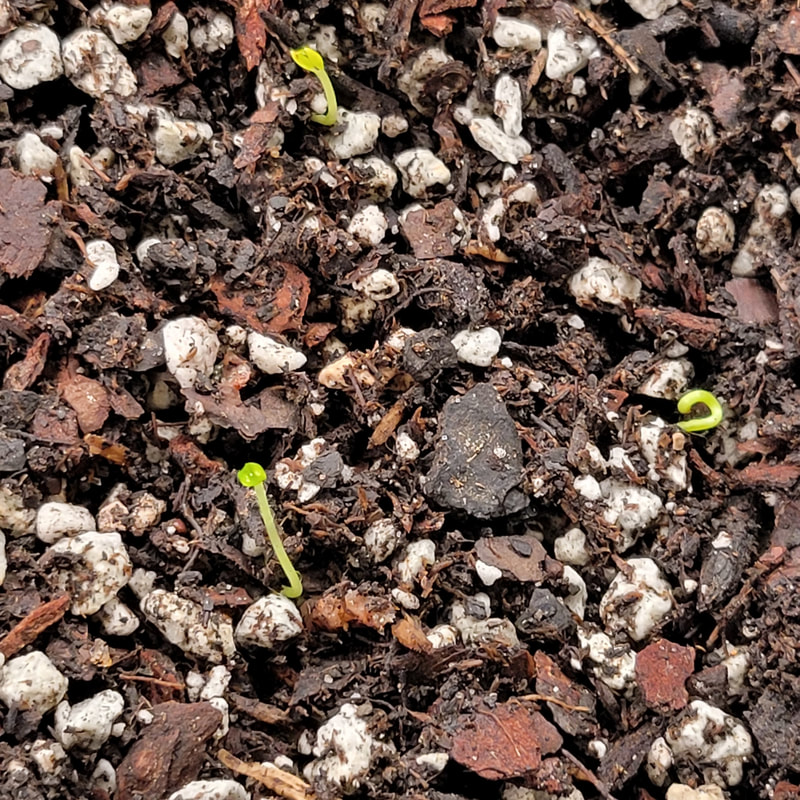
Progress as of 9/29/21 (Day 2 of being planted)
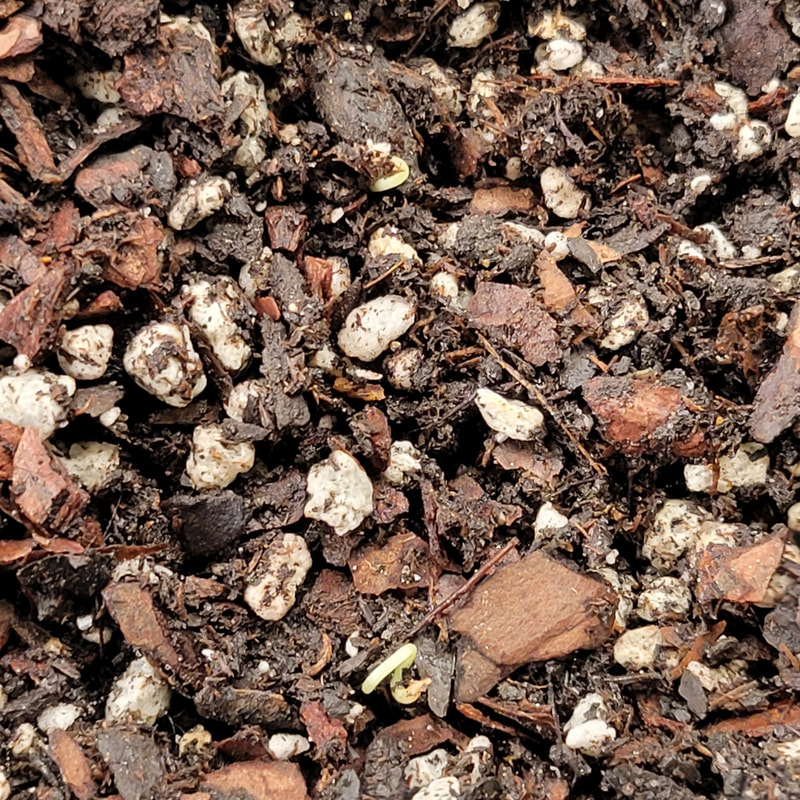
10/3/21 (Day 6 since planted)
I took some of the same seeds I used in the sprouting method and sowed them straight into soil on 9/25/21 as a control. The seeds used for both of these experiments were harvested 9/15/21. I've heard the fresher the seeds are the better they do. Here is what happened with the control group. It is worth mentioning that this set of seeds are under a grow light unlike the sprouted ones. Progress as of 9/29/21 (Day 4)
Progress as of 10/3/21 (Day 8)
Progress as of 10/8/21 (Day 13)
Progress as of 10/17/21 (Day 22)
I bought seeds from Kirsten Dyer aka SmallBatchTropicals on Etsy. I wanted to try my hand at growing Hoya from seed myself. The mom is H. Sunrise and the dad is unknown. When I received the seeds the fluff was already taken off and ready to sow. The fluff does not have to be taken off before you sow them.   I took a glass container and put a layer of moistened soil on the bottom about 1/2 inch thick. I then laid the seeds on top. I covered the seed with a thin layer of soil. Once in place, I lightly misted the top layer.   I decided to place the container in a gallon sized bag so I could poke air holes in the top with tooth pick. 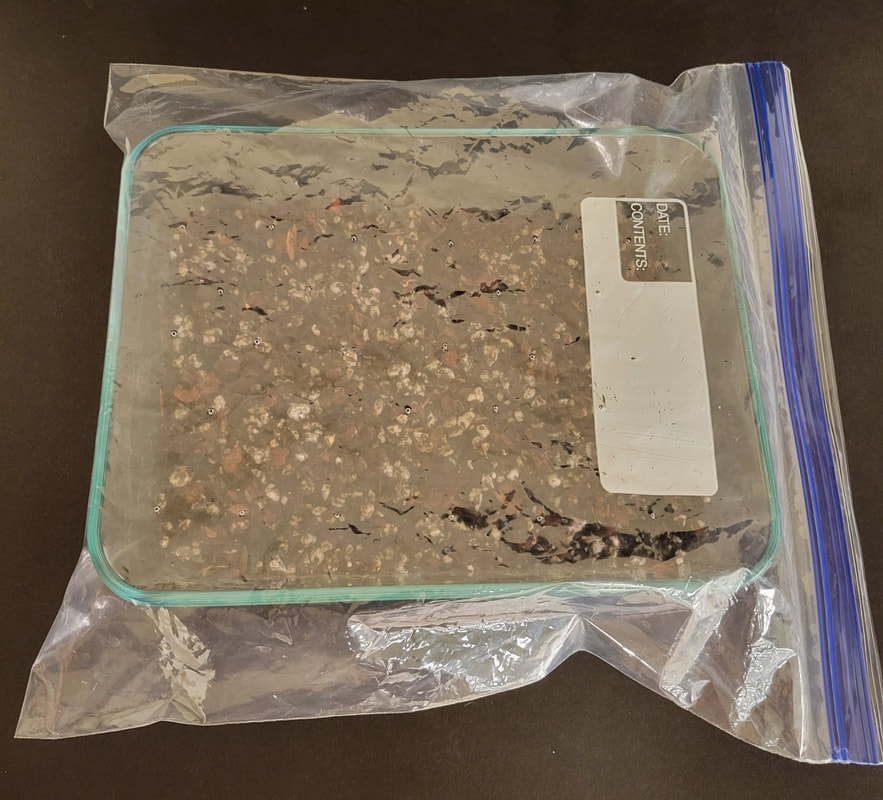 Then, I put my contraption on a 20x10 grow tray with a heat mat underneath. From what I read it should take a couple days for the seeds to start the germination process. I will say the more I've thought about it, I should have put them in a taller container so they would have more room to grow before I have to transplant them. After a few days, I put them under a grow light as well. Side note: If for some reason you sneeze and blow your seeds everywhere you can use a vacuum wand with a sock on the end secured by a rubber band to suck up the seeds. I was able to find a few of them this way but still ended up losing a bunch. Seed Progression Sown 9/21/219/27/21
9/29/21
10/03/21
10/08/21
10/17/21
Click here to read my blog about sprouting Hoya seeds
Click here to see my November seed update Click here to to see my December seed update Click here to see my February seed update Click here to read about lessons I've heard from growing Hoya seeds Additional Resources: Click here for Amanda Law's Hoya seed propagation video Click here for Doug Chamberlain's Hoya seed propagation videos |
Archives
March 2024
Categories
All
|


 RSS Feed
