|
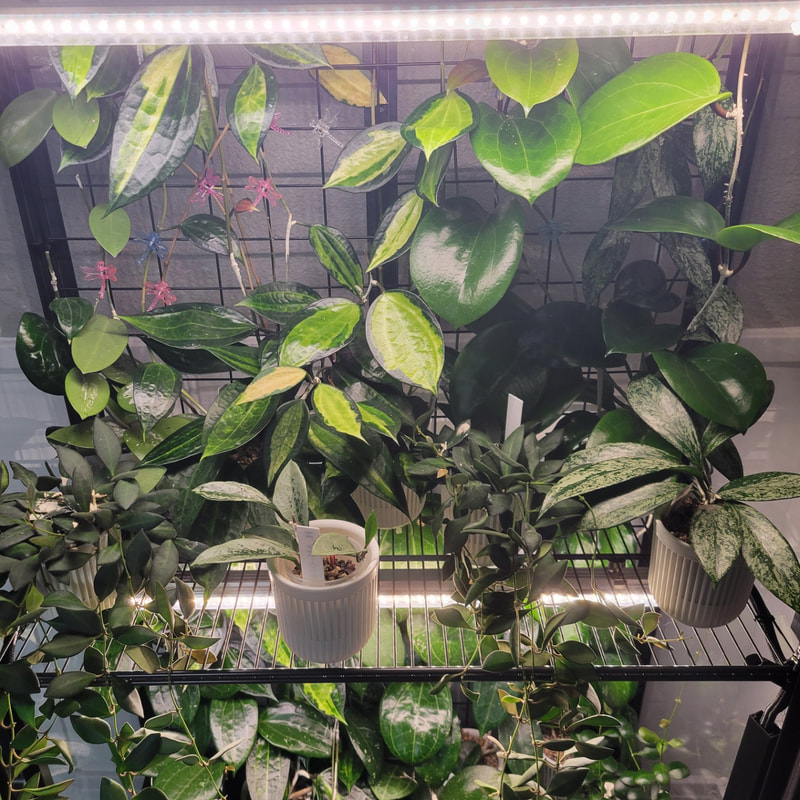
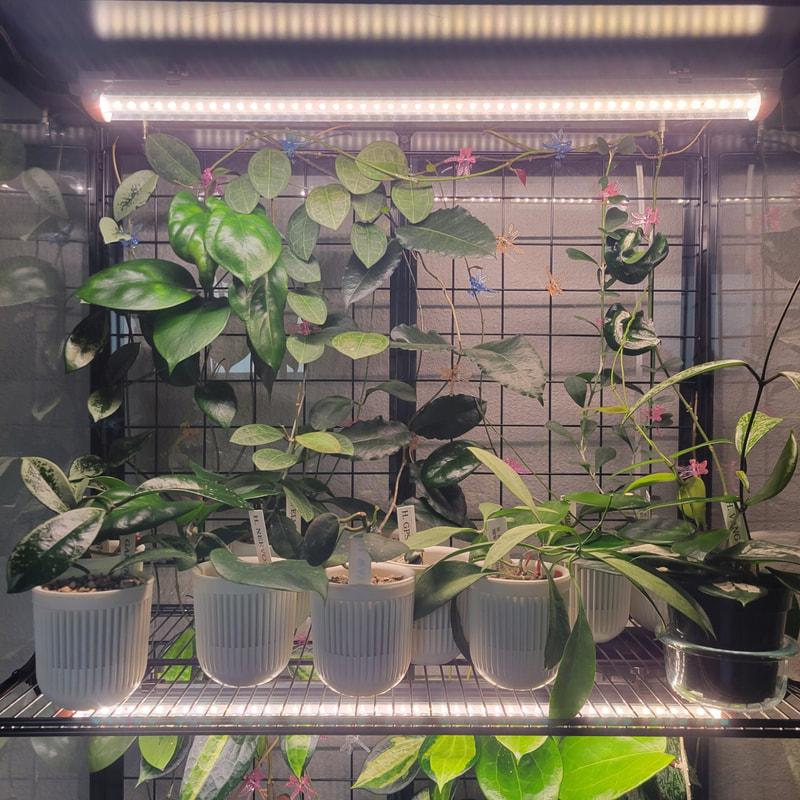
My Milsbo set up has been working great since I set everything up. The only thing I would consider doing is switching out my Barrina's for the all-black magnetic finished ones which is just a cosmetic upgrade. All my plants have been thriving in the cabinet even though I have been less rigid about fertilizing. So far, no issues with rust or anything on the cabinet itself. Some of my newer editions to the cabinet are H. Ricardo, H. vangviengensis, H. bilobata. Shout out to plant_mom for gifting me H. elliptica after mine died and H. waymanie. My condolences to the ones that did not have the grit to make it in the cabinet I am looking at you H. Patricia and H. rintzii (Borneo).
0 Comments
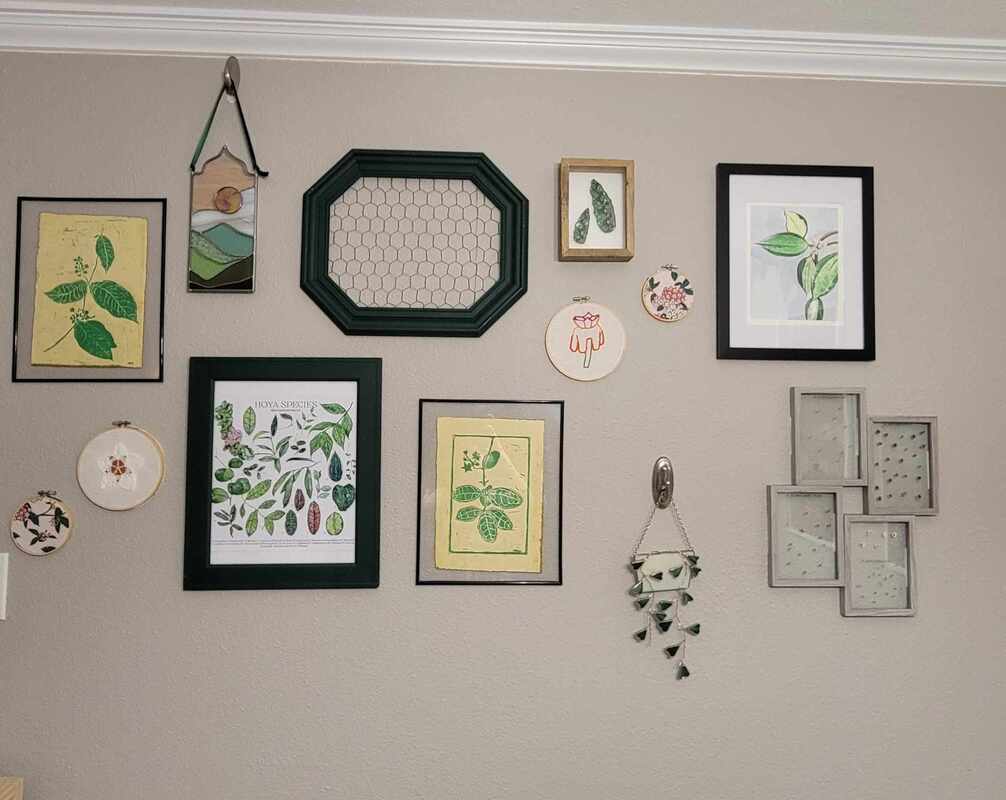 As the years have gone on in my Hoya collecting, I find that I am enjoying having a small collection and have been focusing on other aspects of plants. One of my current projects is a Hoya themed art wall. A lot of pieces I have had for years but I started collecting a couple new ones and realized that I had a hard time finding exactly what I was looking for. I wanted to share my wall and some artists I have purchased from.
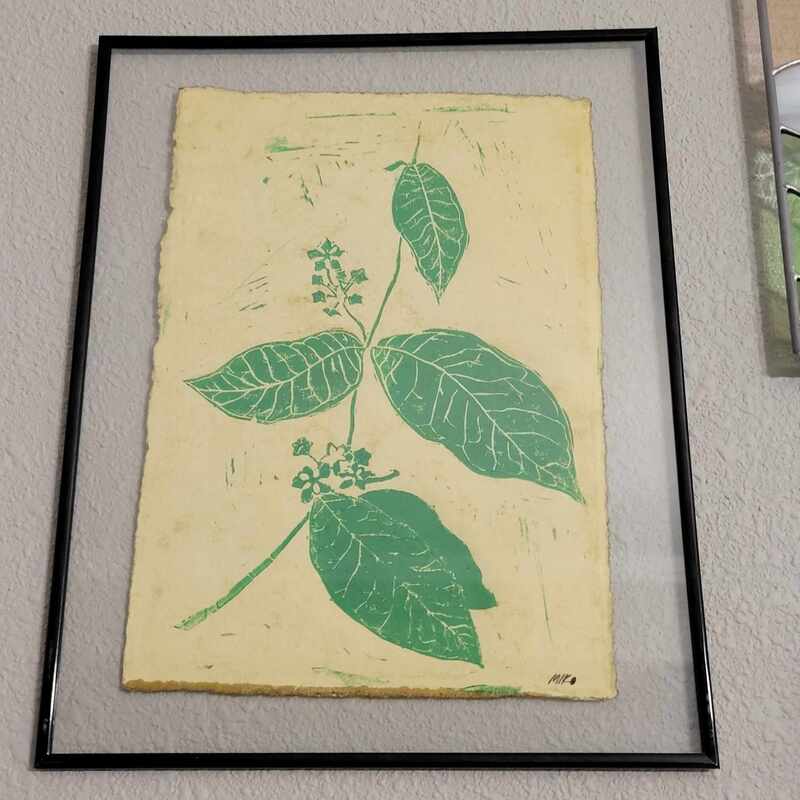
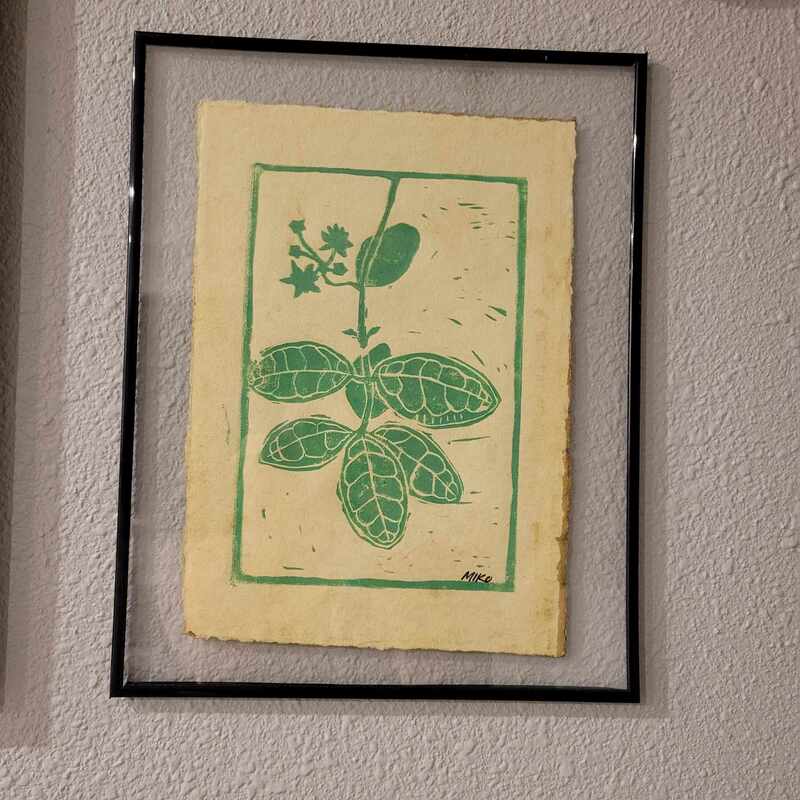
Block prints of Hoya sp. Gunung Gading and Hoya elliptica. I bought these years ago and cannot for the life of me find the artists Instagram but they are signed Miko.
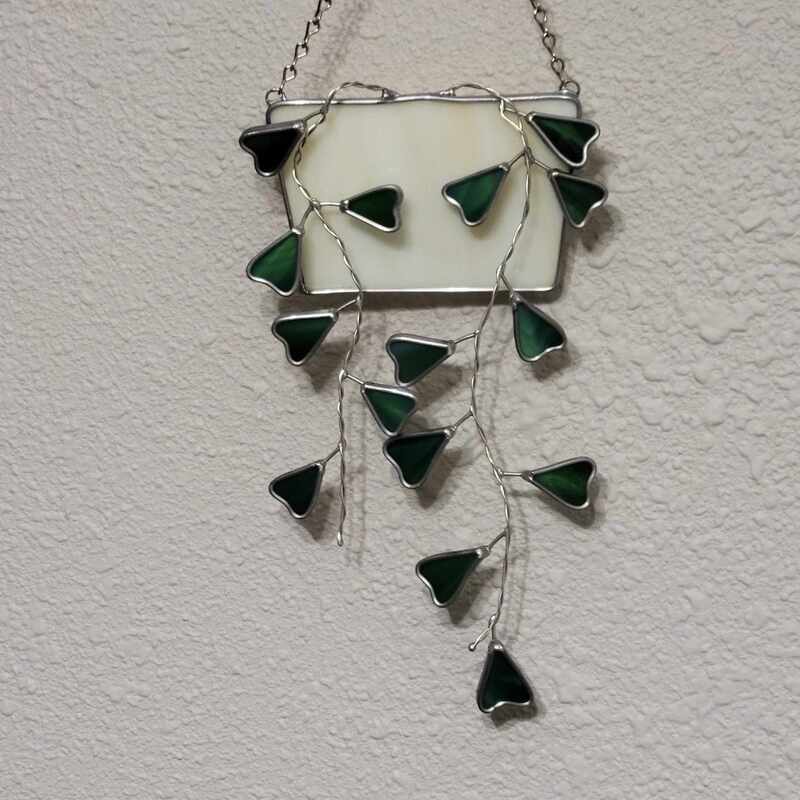
The stain glass of Hoya manipurensis in a pot was made by Cadence aka little.lam.glass on Instgram.
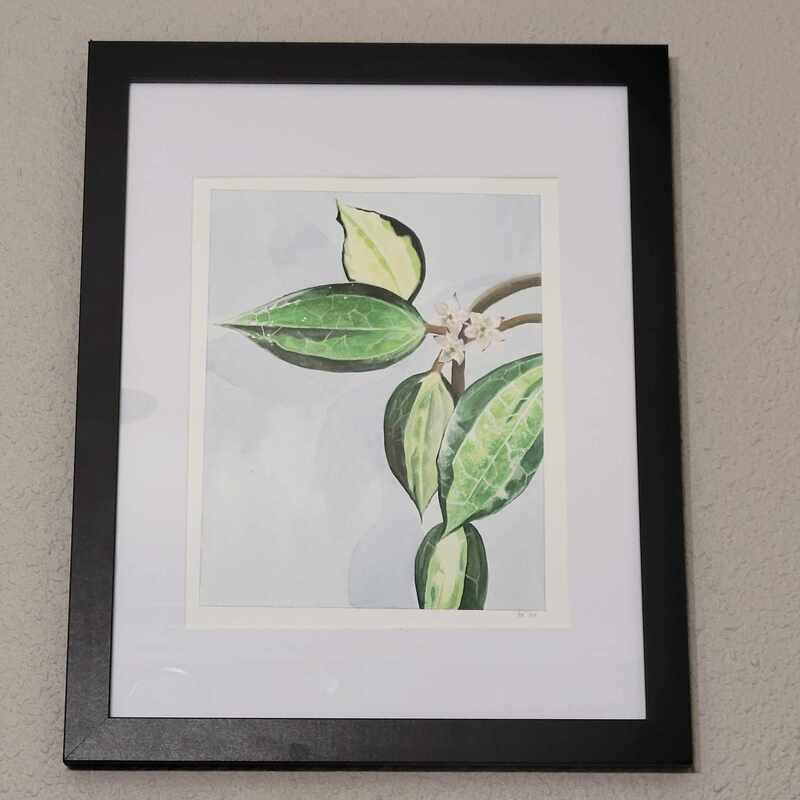
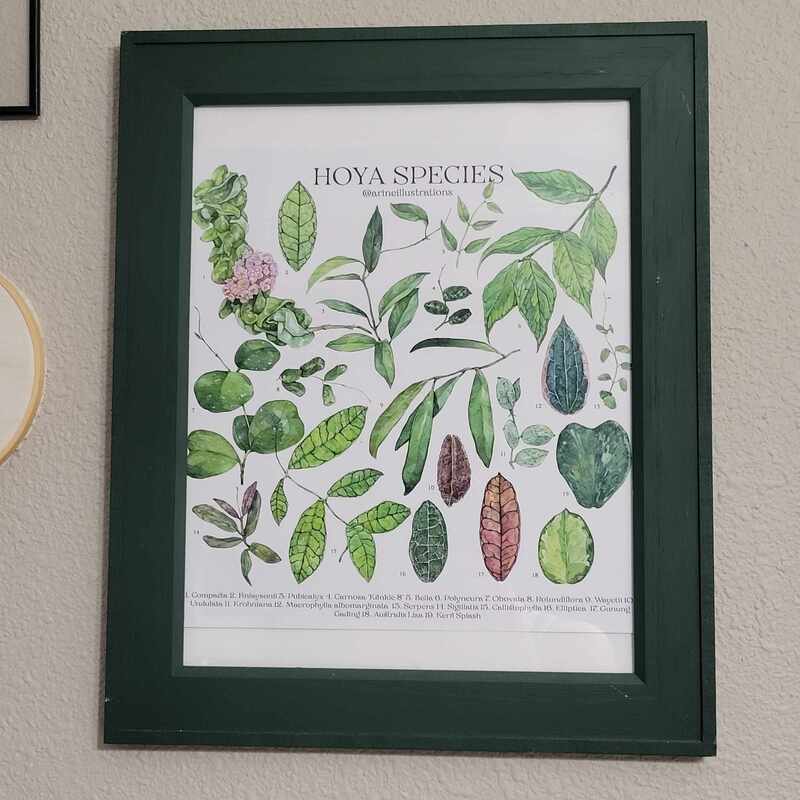
Hoya species print by arineillustrations. Arina even sells her original pieces which is really neat.
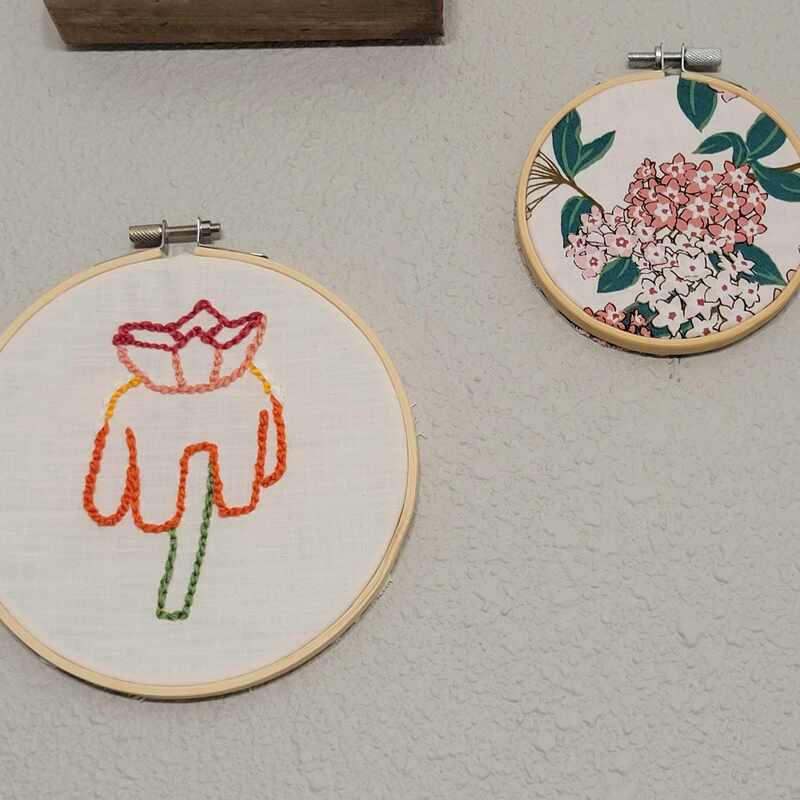
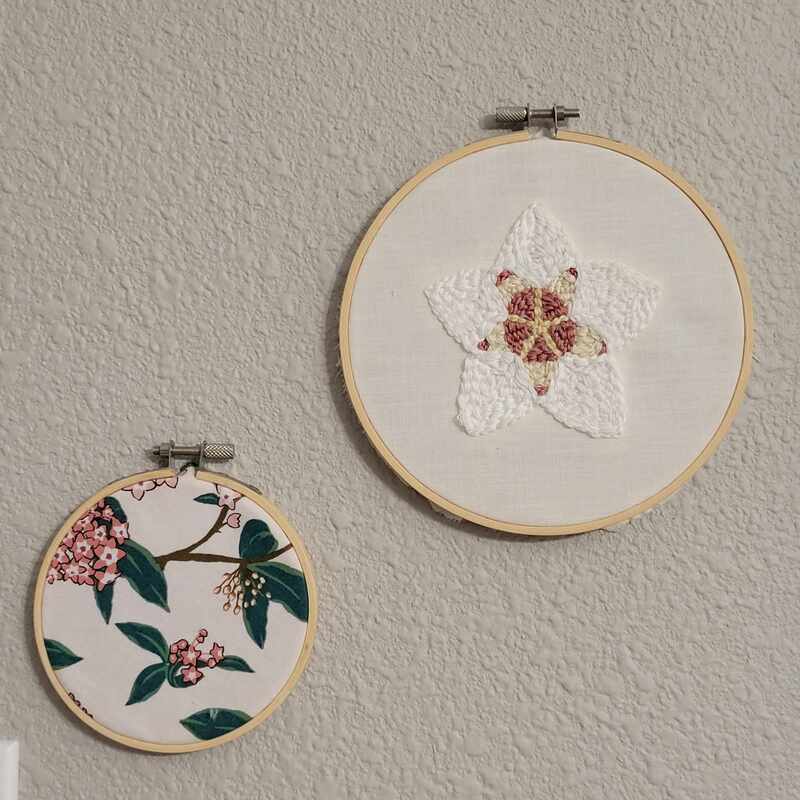
The Hoya themed fabric in the smaller embroidery hoops is from Etsy. The two larger embroidery hoops is a punch needle of a Hoya carnosa and Hoya praetorii bloom. I made both of those.
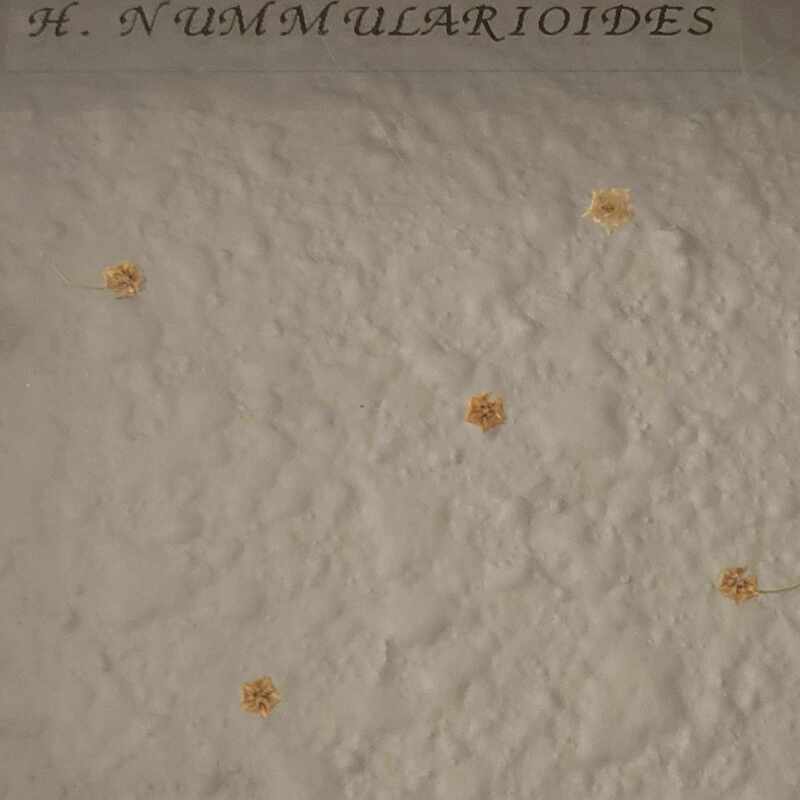
The grey set of four frames are Hoya blooms that I preserved from my own plants and then hung in frames. Hard to get a good picture of them since they are in clear frames.
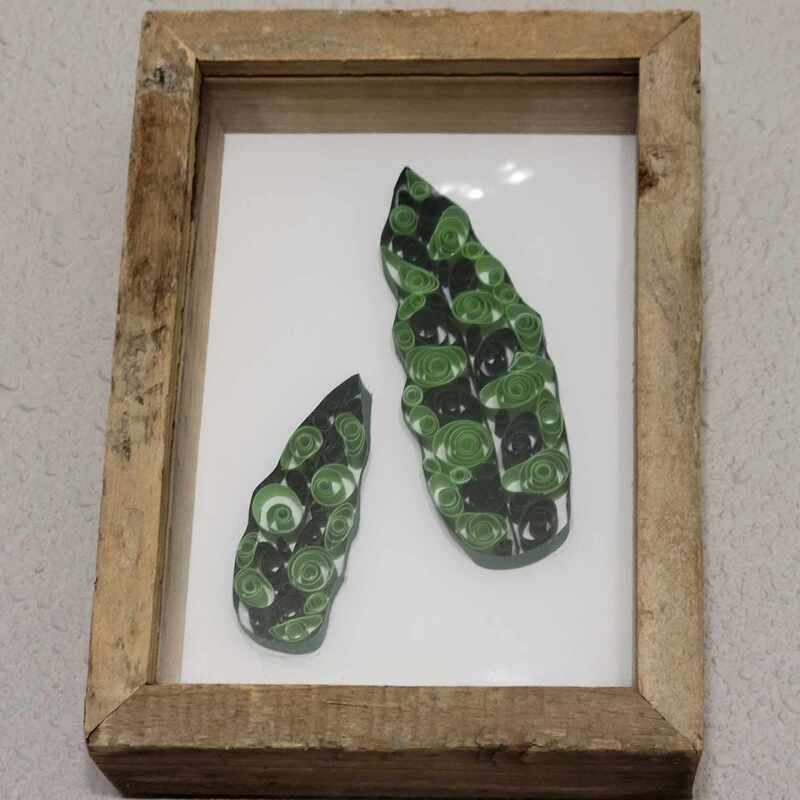
The little leaves in the light wood shadow box are made from paper curling. I had it custom made from someone on Facebook a few years ago. Non-Hoya Related:
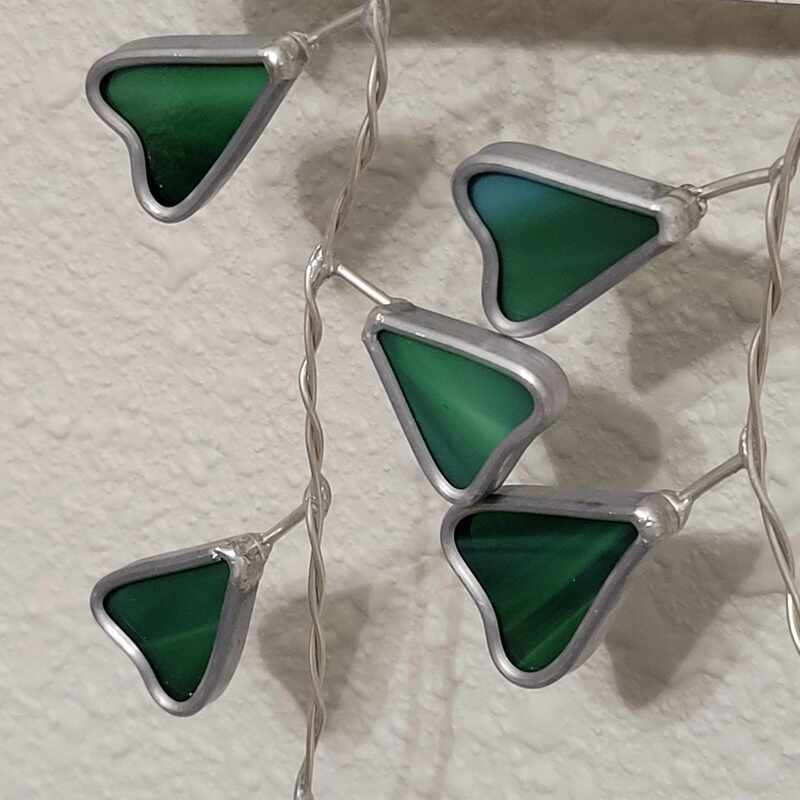
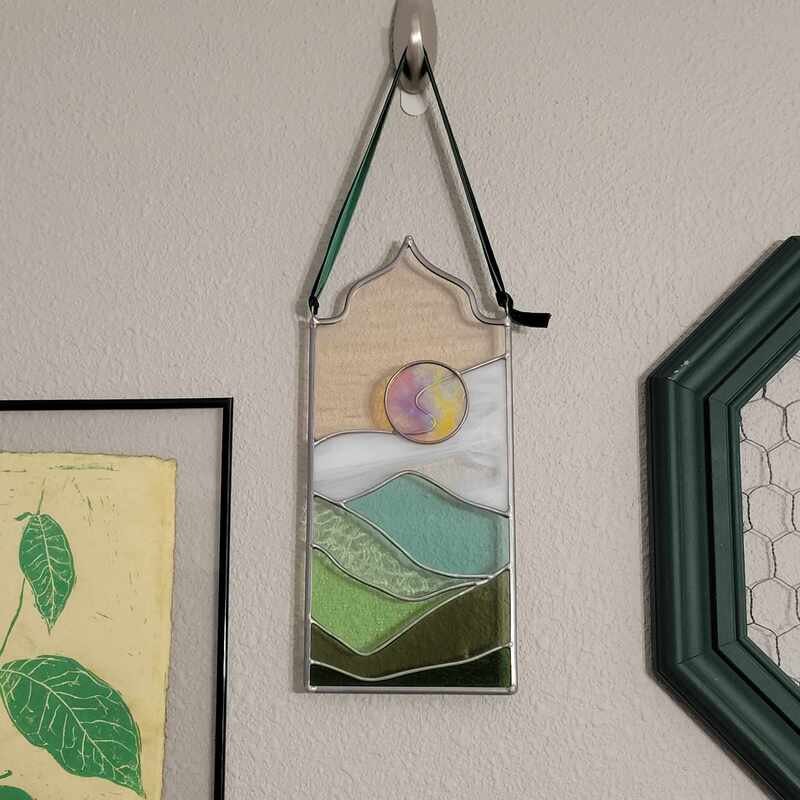
Stain glass of nature by Cellar Door Trades. They make one of a kind pieces and do various drops.
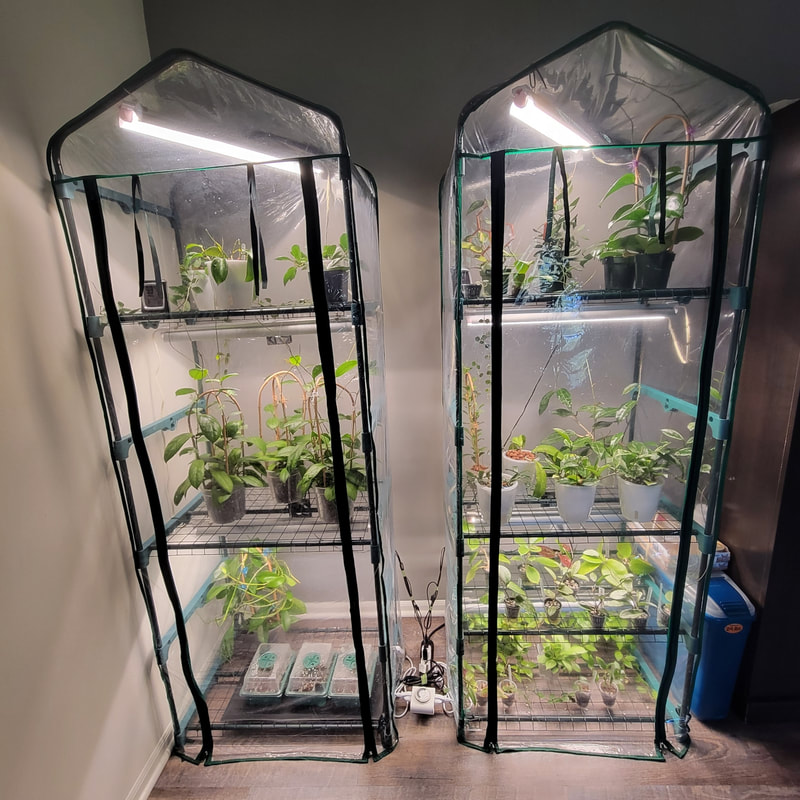
I have been saying for months that I was going to downsize my collection. At the height of my collecting, I had over 300 Hoyas contained within 3 grow tents. It was a thrill to be receiving multiple packages a week each with a new Hoya to add to my collection. There really are so many interesting ones to buy. However, it became harder to enjoy my plants because I was always trying to keep up with the maintenance. Being able to properly attend to my plants and enjoy them is really important to me in this hobby. I finally have been able to keep the ones I love and sell the ones that I can live without. Currently, I have about 45 Hoya's in my collection give or take a few. It feels so great! I think the lesson I learned is to not get caught up in having to have the latest/greatest and nurturing what I have.
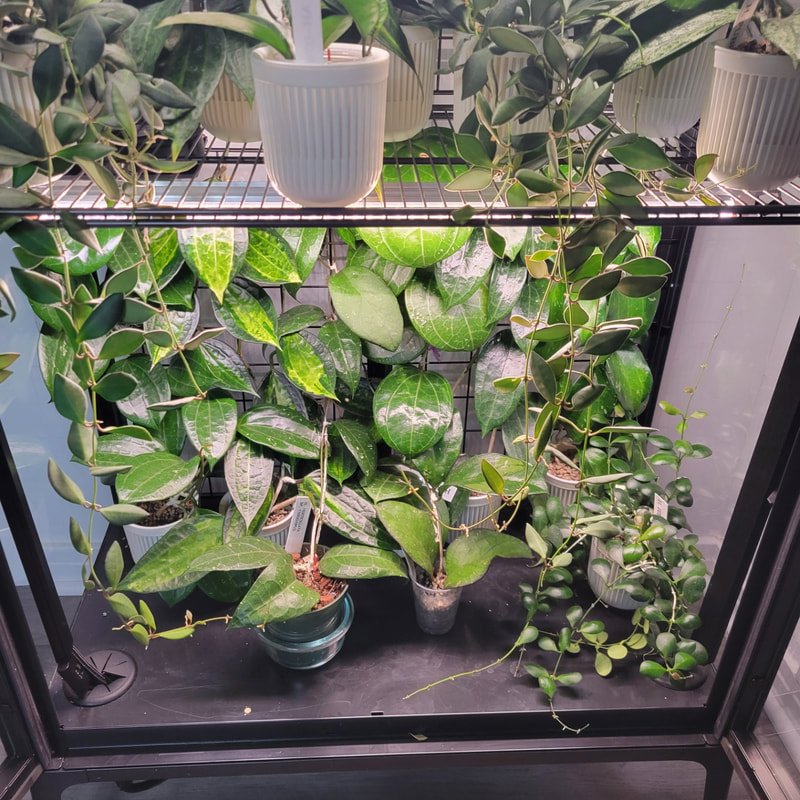
I've even been able to take out a few shelves so now my plants have more room to grow! I'm really enjoying having bigger more mature plants. Sometimes I still get the urge to cut them back but I talk myself out of it. Don't forget to enjoy the hobby and your plants. Podcast Listening Reccomendations: Bloom and Grow Radio Episode 43 Your Brain on Plants Potted Together Podcast Overconsumption of Plants
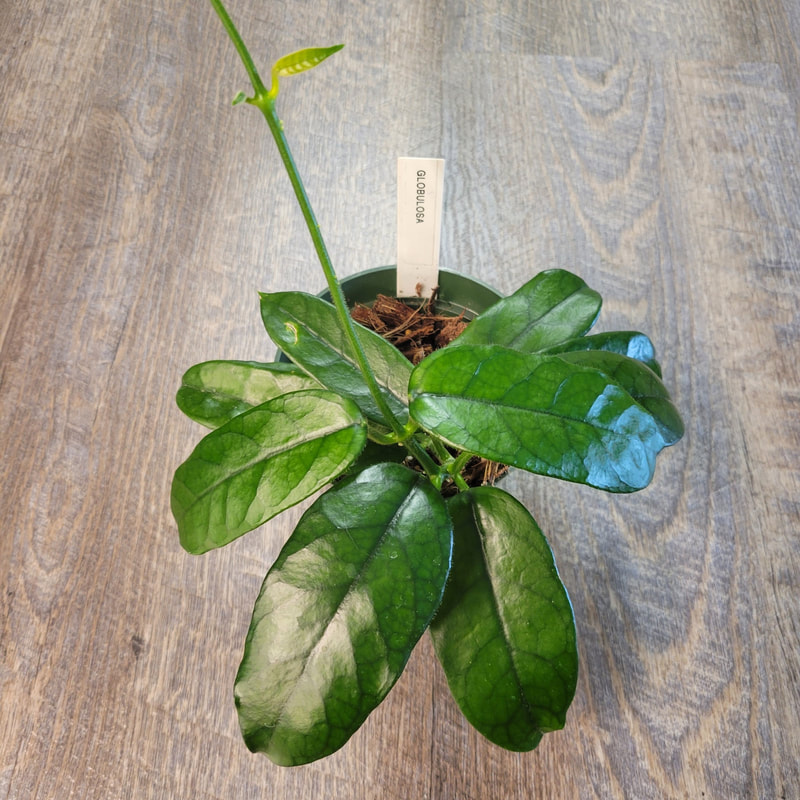
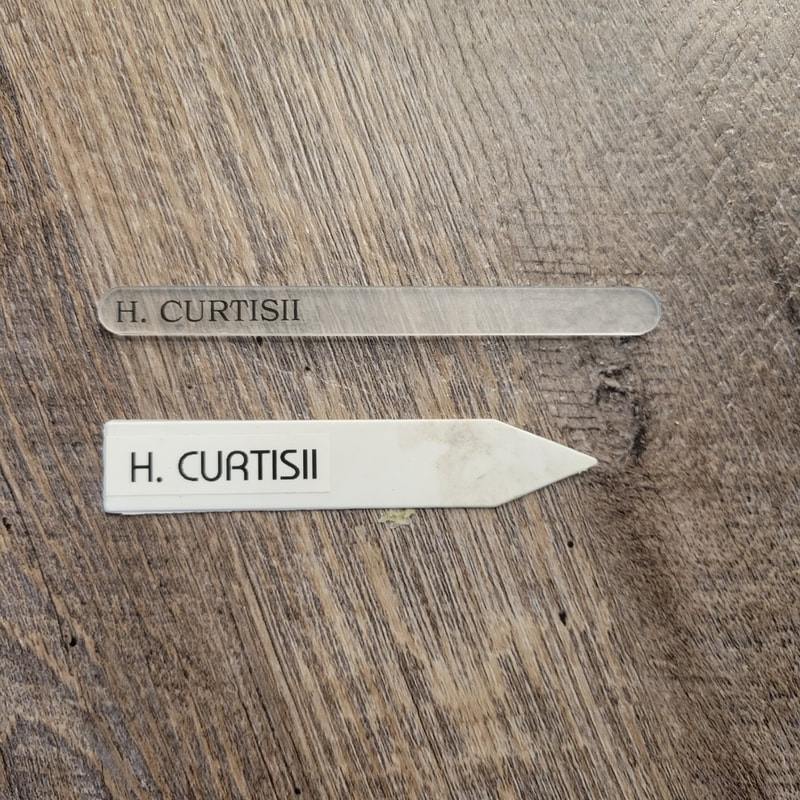
The plant tags that I gravitated towards for most of my collecting time has been plastic ones. They have a point on the end and work well for their purpose. Unlike wood tags, plastic ones will last longer and not mold or rot. I would definitely recommend using these if you have a lot of plants and are looking for a cheap but durable option that costs roughly 6 cents per tag if you buy a pack of 200. To make my plant tags I use the Brother P-touch PTD210 which is a really affordable label maker. I had initially bought a DYMO LM160 but it didn't work straight out of the box and the problem was a known issue for this particular machine. For label tape, I recommend not buying the Brother brand tape due to cost per roll. I have been using Labelife which makes their own cartridges that you can buy for a reasonable price in bulk. The tape quality is the same as Brother in my experience. There are also other font color options (white, black, red, blue) as well as background color (transparent, white, black). Recently, I saw someone post about using acrylic engraved plant tags for their plants. I really like the idea of using clear tags. I ended up buying acrylic popsicle sticks. It is a pricier option at about 22 cents per tag. I do not have the capability to engrave my own tags so I decided to buy transparent tape for the P-touch. Another idea for writing on the acrylic is using an oil based Sharpie which is permanent but can be removed with acetone.
The acrylic popsicle sticks are about 0.5 inch longer than the plastic ones and thicker. It was harder to place it into pon but no issue with soil. The bigger the plant pot the easier I would assume it is to stay put. I did attempt to cut a V into the bottom of the popsicle stick but it was difficult cutting through the acrylic. Additionally, the label tape is slightly larger than the surface area of the acrylic so I had to cut it down once placed. I used a lighter to gently burn the edges after I trimmed down the sides of the tape.
Font settings used for the acrylic labels:
There are hundreds of different Hoyas available to purchase. Not to mention there are so many interesting characteristics between different varieties and new hybrids coming onto the market. I thought I would share some of my favorites.
H. manipurensis I absolutely love the shape of the leaves and find it to be unique among the Hoya genus.
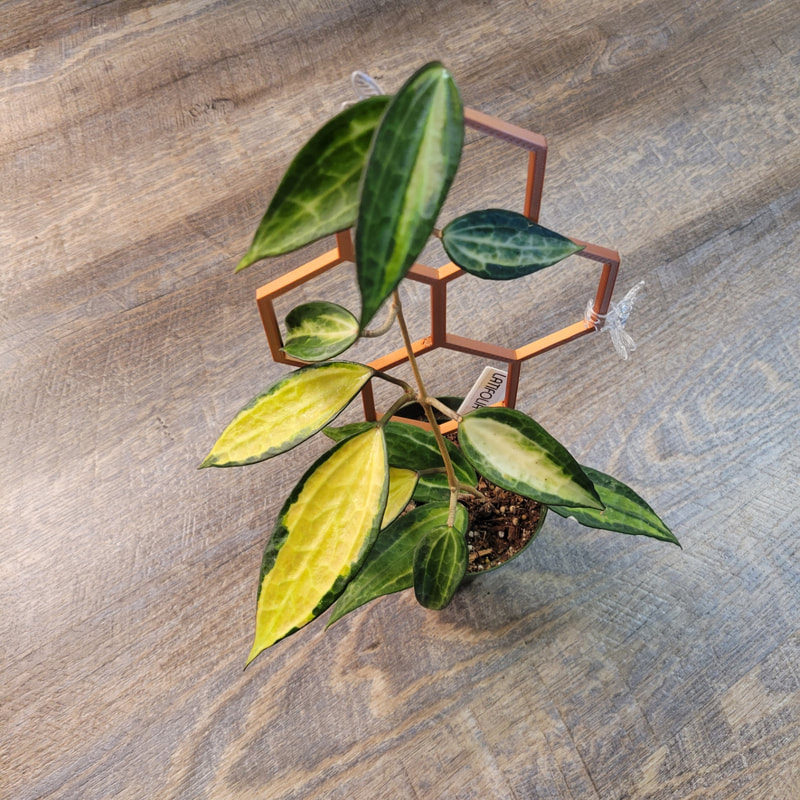
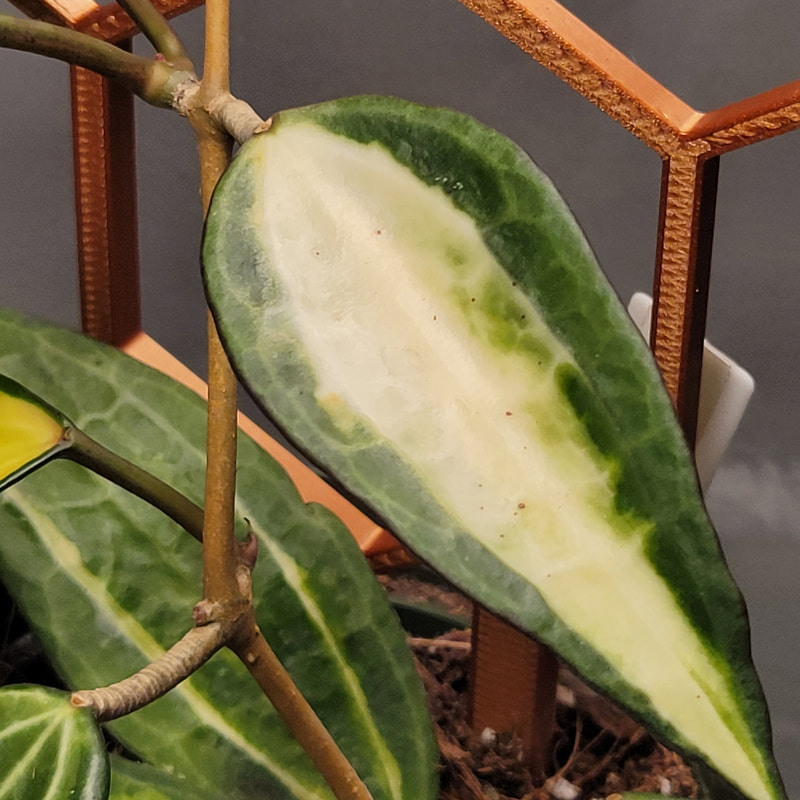
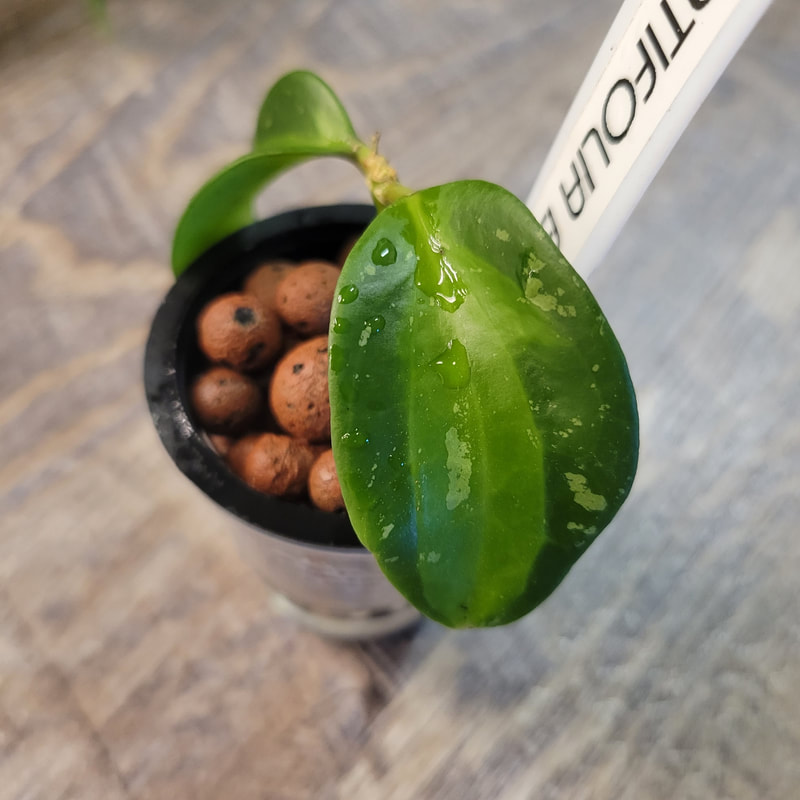
H. latifolia 'Pot of Gold' fka macrophylla This has been one of my all time favorites since I started collecting. The variegation between each leaf can vary greatly. Love the contrast of the leaves.
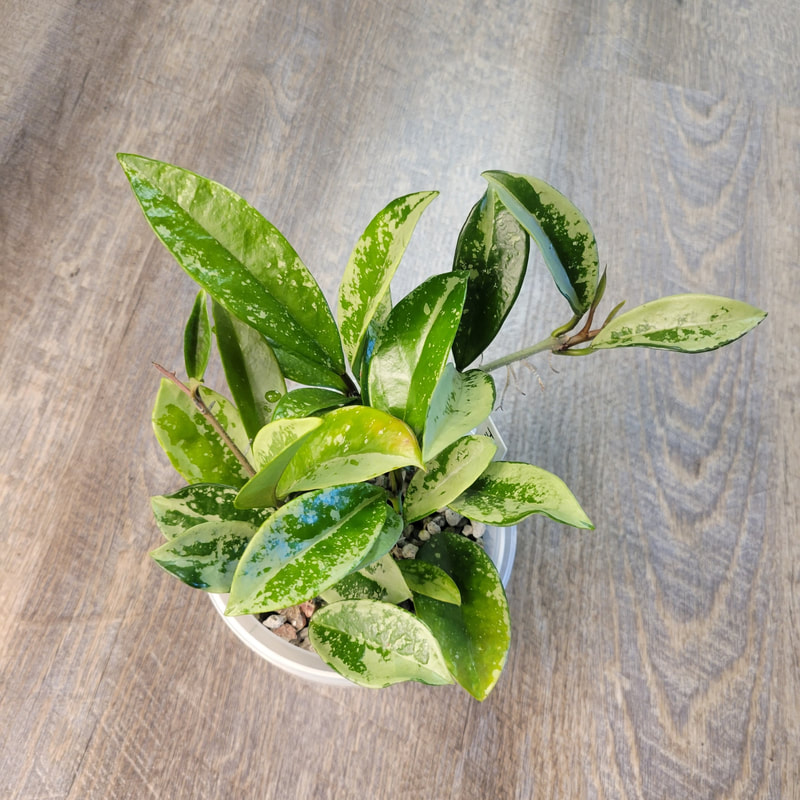
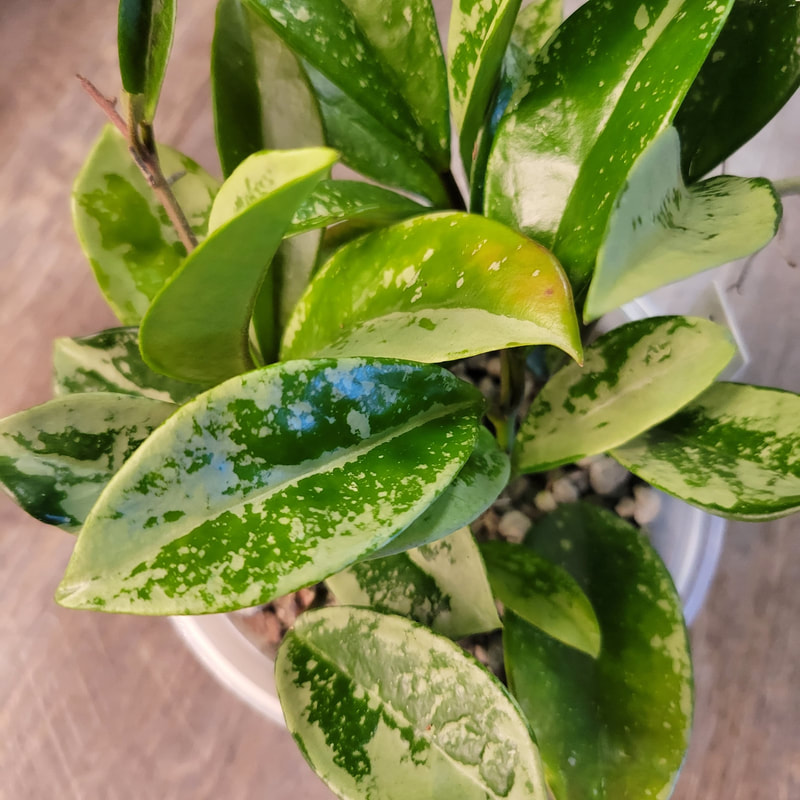
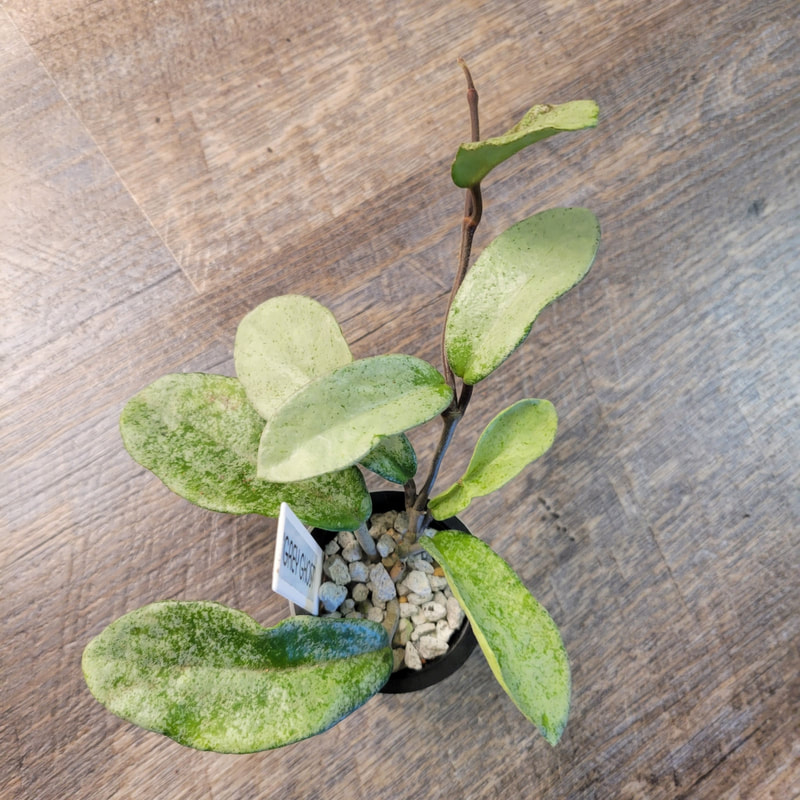
H. AH-074 Such a lovely sport carnosa. Carnosa's tend to be fast growers and this is no exception. There are two clones of AH-074, one that is almost all silver and a second that is green and silver. I love the way the green and silver look together.
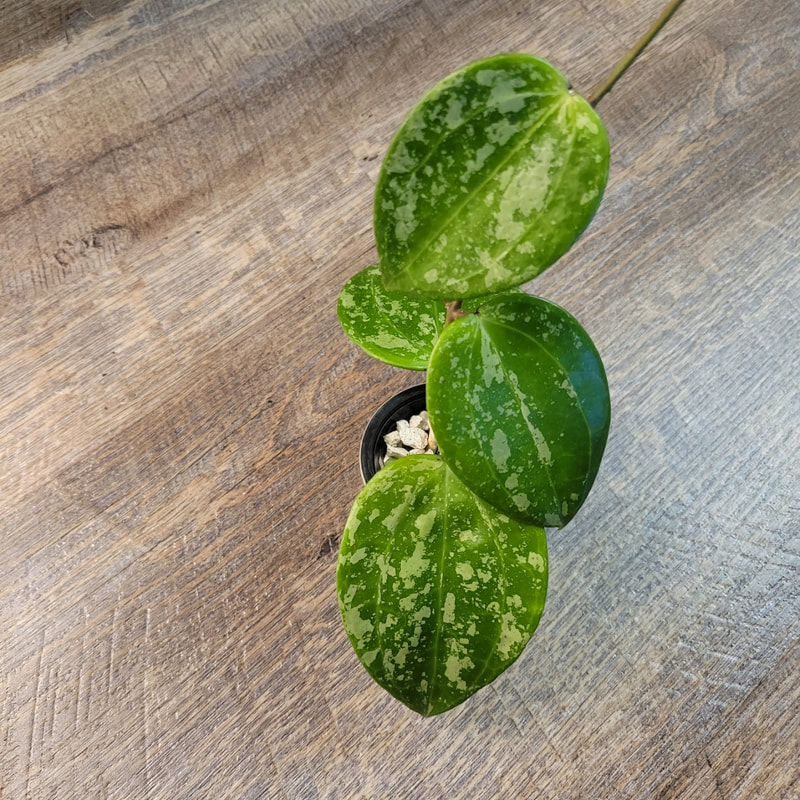
H. sarawak Between the veins and large leaves this one is a 10/10 for me.
H. villosa Wonderfully pubescent leaves with such amazing veins. Honorable mentions:
There are basically way too many Hoyas that are amazing. I would also add in H. waymaniae for the velvety soft leaves and H. fitchii for the incredible veins. Buying plants in the winter can be a risky endeavor especially when temperatures start to drop. I am by no means an expert when it comes to cold damage but I think it's an important topic to address. Moreover, cold damage can also occur if your plants are too close to cold windows or if you have an unseasonably cold home. Tropical plants naturally require higher temperatures and greater humidity therefore making them more susceptible to freezing temperatures. Excessive cold can rupture plant cells and cause a lot of damage. Furthermore, cold damage does not just apply to tropical plants being exposed to below freezing temperature (32F) but also in the range of 32-50F. Some Hoyas in particular may be fine closer to 50F e.g; H. polyneura while others might start to decline at that same temperature. I think it's important to note that there is a difference between frost and freeze damage. Frost damage is when the plant cells freeze and form ice crystals which rupture the cell walls. Freeze damage on the other hand, occurs during continual temperatures 32F>. Freeze damage can hinder long term plant growth and can be less noticeable right away. Signs and Symptoms of potential cold damage:
 Bunn, S. (2021). Hoya carnosa 'Wilbur Graves' with cold damage. Retrieved February 13, 2022, from https://www.facebook.com/groups/3103595163059302/search/?q=cold%20damage.  Thigpen, T. (2022). Hoya heuschkeliana variegata with cold damage. Retrieved February 13, 2022, from https://www.facebook.com/groups/3103595163059302/search/?q=cold%20damage. It is still possible to buy plants in the fall and winter that arrive in great condition. To help mitigate cold damage there are steps you can take. First, be mindful of your local weather forecast when buying plants online. Second, if the shop you purchase from offers heat packs or winter insurance definitely get it. Third, purchase from sellers that you know will take great care in packaging your plant so that it does get to you in good condition. Lastly, if you are still worried about cold damage either hold off on buying plants online or request the seller to hold the plant for you for a short period of time when possible. References:
Reddick, L. (n.d.). Identification and Prevention of Frost or Freeze Damage. Retrieved February 13, 2022, from https://cals.arizona.edu/mohave/master_gardeners/kingman/articles/frostorfreeze.pdf
I am by no means an expert when it comes to increasing splash. However, I wanted to share my knowledge with you. I believe the two factors that most influence splash in a greenhouse setting is light and air. Plants use photosynthesis to convert energy from light into chemical energy. The three main elements needed for photosynthesis is water, carbon dioxide (from the air), and light. When extra energy is created from the process of photosynthesis, it is stored in the plant tissue as starch. The splash you see on my Wilbur Graves above, is really just starches in the leaves. Despite my limited knowledge, I find that using grow lights (Barrina T8's) for 12 hours a day and fans within my grow tent immensely help keep splash among Hoya like AH-074 or carnosa 'Wilbur Graves'. I keep Hoya's that I'm actively trying to keep splashy closer to the fans and more directly under the lights. Burnout happens to all of us in many aspects of our lives. I find that having a large plant collection can definitely lead to burnout. Whether you feel unmotivated to care for your plants, keeping putting off tasks, or are feeling uninterested/overwhelmed in your plant care there are ways to get back on track.
Here are some ways to help you cope:
Resources: Click here to watch benjiplant's video on plant styling tips for shelves Click here to watch Tate's Plants video on plant burnout At first it can seem daunting to figure out how to package a plant well enough to survive the mail. Once you do it a few times the worst part is just the time it takes! Everyone has their own methods and this is how I like to pack during the warmer months. Supplies:
Optional Supplies:
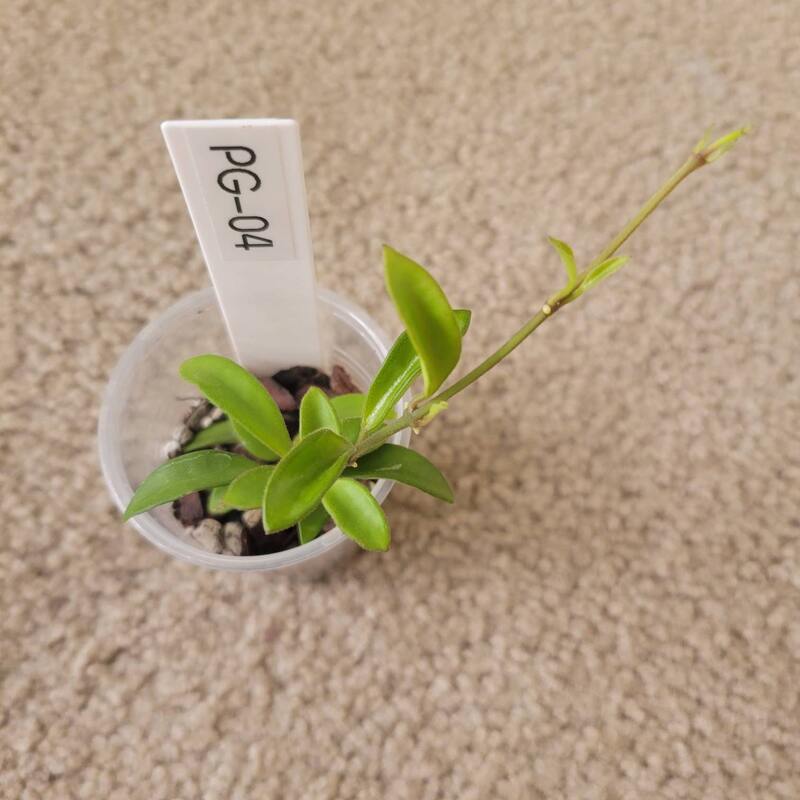
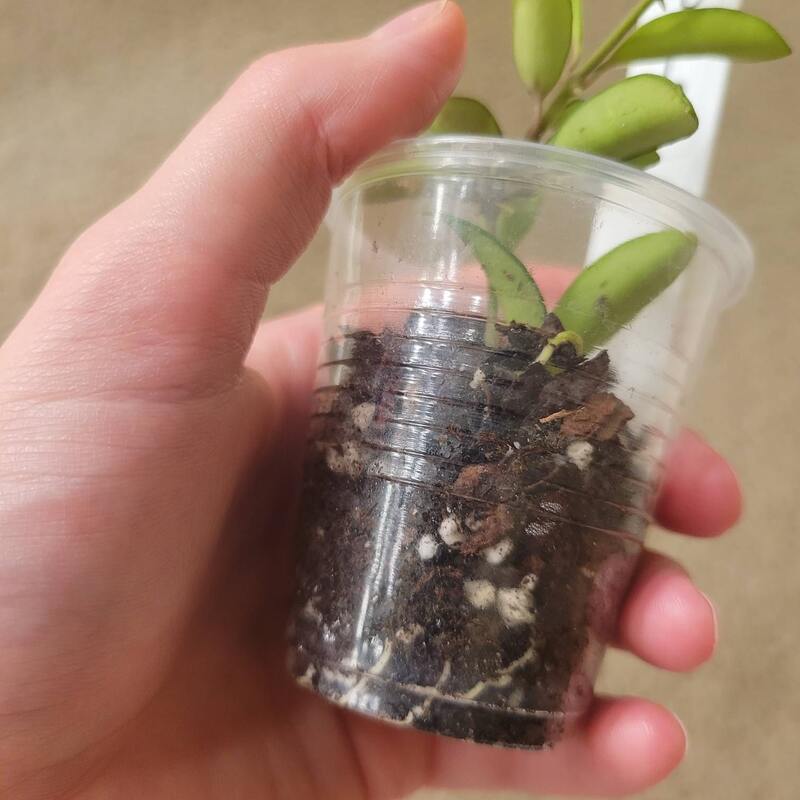
If you are packing a plant to sell my first tip would be take a picture of the plant and the roots before you start packing. It is always good to have proof as well as pictures you can send your buyer to set the expectation.
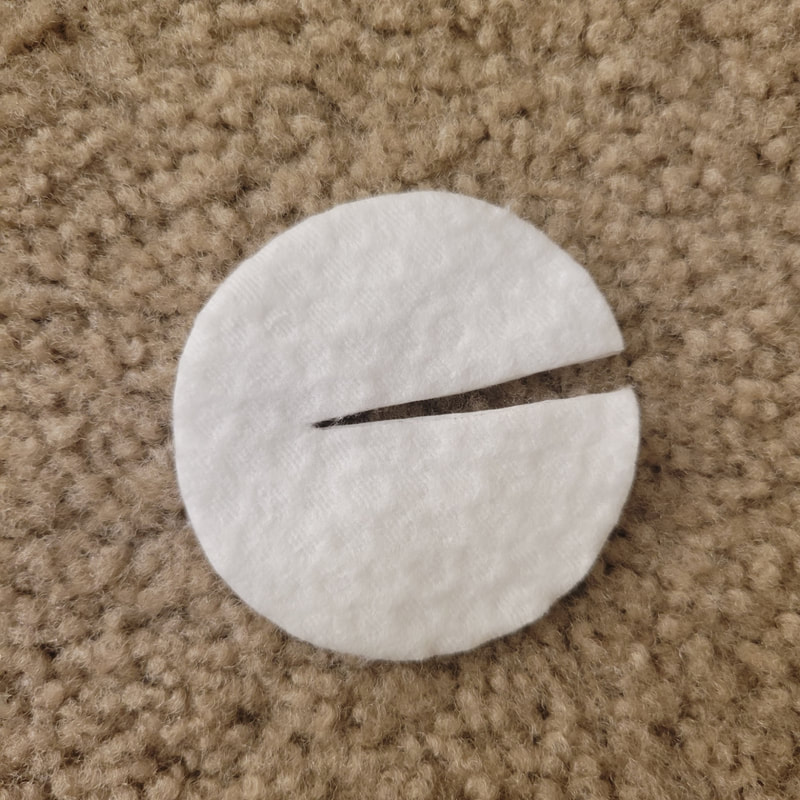
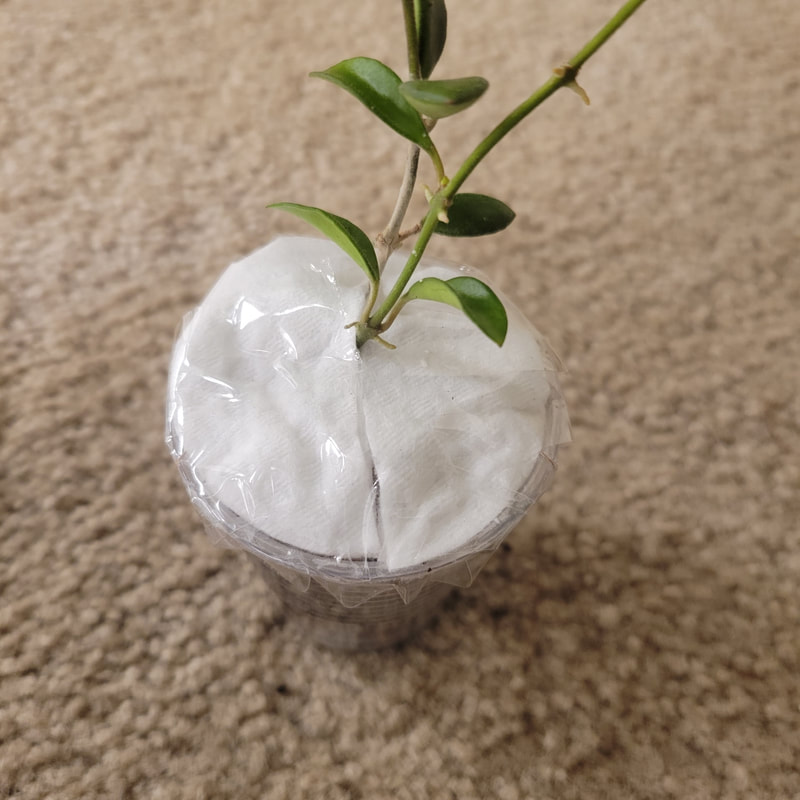
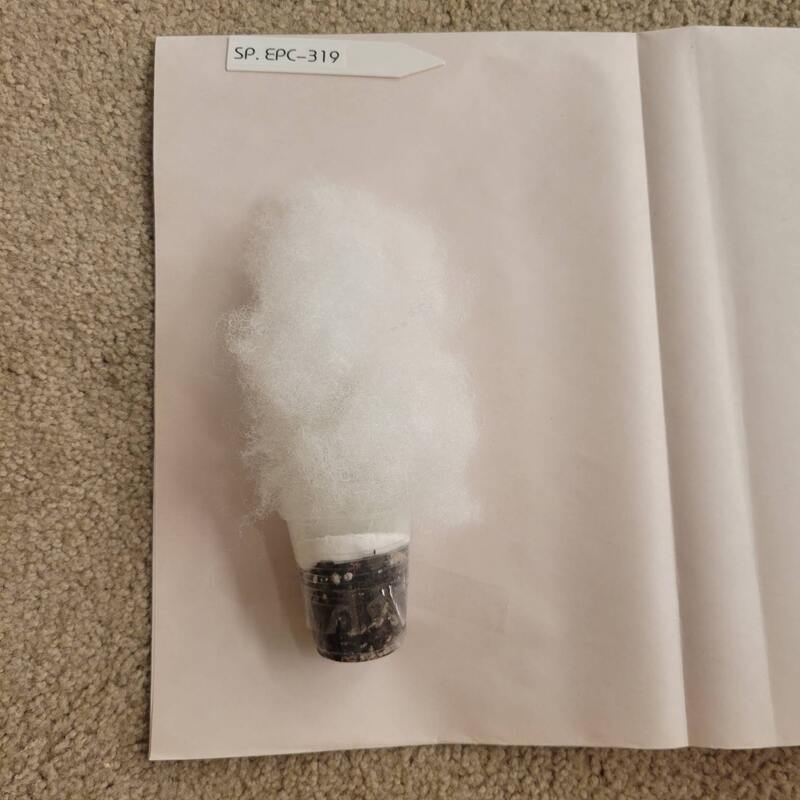
Next, I grab my cotton round and cut down the middle to make the Pac-Man mouth shape. Then, I'll take the cotton round and fit it around the stem of the plant.
Taping down the cotton round is the next step. I will completely secure the cotton round to the pot. This will prevent soil from spilling everywhere during transit.
After that, I grab my craft paper. The first thing I do is lay the pot down and tape it to the paper. Afterwards, I will take my polyester fiber and pack it gently around the leaves and stem to make sure it is fully covered. Roll it up nicely and tape up the ends.
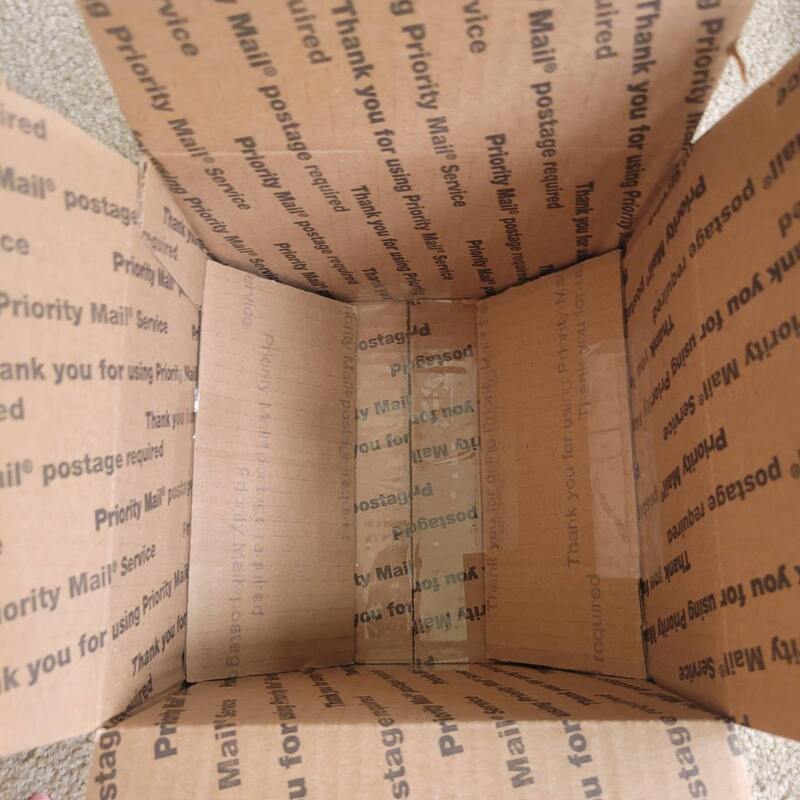
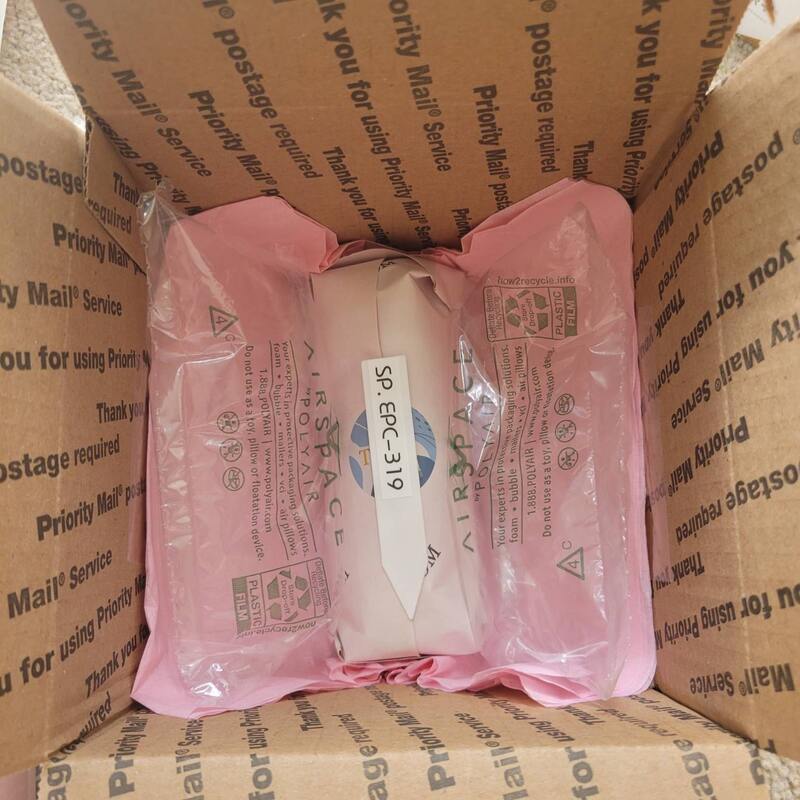
Once the plant is fully packed in the craft paper, I like to take my USPS Box 4 and make a cradle out of the flaps of another Box 4. This will further help the plant from rolling around during the shipping process. I personally like to put a piece of tissue paper down on the bottom to make it look nice and then I will set the plant in. If I have air packs on hand, I will put one on each side. These are not always necessary. If I don't have air packs on hand, I will use packing peanuts or more polyester fiber as a cushion. Lastly, I take another flap from the other box and secure it on top of the plant.
At this point, the package is almost ready to go. I'll stick in an invoice, any additional documentation needed like a phytosanitary certificate, a thank you insert asking for the customer to leave a review, and a sticker from my business. Lastly, I'll seal the box up making sure to put fragile/live plants on the box with marker or stickers and the pre-paid shipping label.
I highly recommend NOT buying your postage from USPS directly. If you use an alternative service like Pirate Ship you do get a slight discount. Also, it is important to note if you use a priority mail box like Box 4 you can only send the package priority mail. I never send plants anything less than priority mail. Tips for Cold Weather:
Shipping Plants the Legal Way: Every state has different agricultural rules when it comes to transporting plants. Trying to find out what states have what rules can be incredibly confusing and even the language used isn't always clear cut. The National Plant Board is a great resource for being able to find shipping requirements for all 50 states. Click here to check out the website. Additionally, depending on whether you are shipping as a nursery dealer or business that can create additional rules to follow depending on the state. It is super important that you always check with your state to see what requirements there are. If you plan on importing more than 12 plants you will need to first get a permit to import plants and plant products through the United States Department of Agriculture. It is completely free to get this permit. I will say that it was a little confusing to navigate. Make sure whoever you are importing from is reputable and follows USA laws and regulations for importation. If the proper documentation is not there USDA will incinerate your plants. It can take anywhere from a few weeks to months from the time you place an import order till it gets shipped and arrives to you. From the time my plants shipped via Dragon Courier it took 6 days to get to me including being held up an additional day due to it being a holiday. I did not take any pictures of unboxing the plants. Each plant had its roots wrapped in sphagnum moss and then the whole plant was wrapped in paper. I unwrapped all the plants and discarded the moss. My order arrived in pretty decent condition considering it had come all the way from Thailand. I still soaked my plants in a mixture of Physan 20 and Superthrive for about 6 hours. Everyone who I talked to who imports Hoyas seem to have their own routines for what to soak them in and for how long. Amanda Law said to not soak the plants for more than 8 hours because it can lead to cell burst in the leaves. Click here to check out her video about importing Hoyas.  After the Hoyas had sufficiently soaked, I trimmed off the dead roots. Some of the Hoyas had salvageable roots so I potted them directly into soil. If I could go back and do things over, I would have just cut off all roots and re-rooted everything. I noticed a few days later that some of the ones I potted in soil weren't looking great root wise. Other Hoyas I did cut up and put in LECA to root. Remember to cut your Hoyas into smaller sections to root as it will be easier for the plant and take less energy. Even though my order did come in decent condition I did have leaves yellow and fall off of various plants for the first few days. I wasn't super concerned by this because the plants had been put under a lot of stress and had a complete change of environment. Not to mention sometimes USDA heat treats the packages coming in. It has been probably about a month or so since I received my import order and most of the plants have acclimated well. It is normal to lose a few. Some I still have rooting in LECA but most are potted up and, in my tent, now.  I quarantined my import plants longer than I normally do. Additionally, besides the initial soak in Physan 20 when they arrived, I wiped down all the leaves with insecticidal soap before I did anything with them. I would rather be extra safe than deal with root mealybugs or any other pest.
|
Archives
March 2024
Categories
All
|


 RSS Feed
